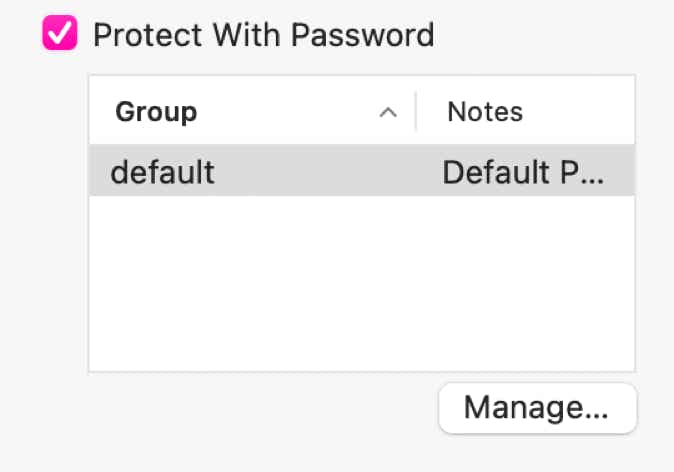
You can limit access to a set of pages using a login/password combination. All pages have a “Protect With Password” setting, which lets you select groups of users who will be able to access the page. Users, and user groups, are configured in the site settings.
When you configure your first users, Sparkle will add a login page to your website, where anybody attempting to access the restricted pages will be redirected. You should customize the login page to the style of the rest of your website.
Login forms can also be added on any of the website pages, but a standalone login page needs to exist: it’s where visitors will be sent to authenticate, if they access a restricted page or asset. This mechanism lets you link naturally from publicly visible pages to restricted pages, a logged in user will be prompted for a login the fist time they access a restricted page, but then be allowed to navigate freely across them.
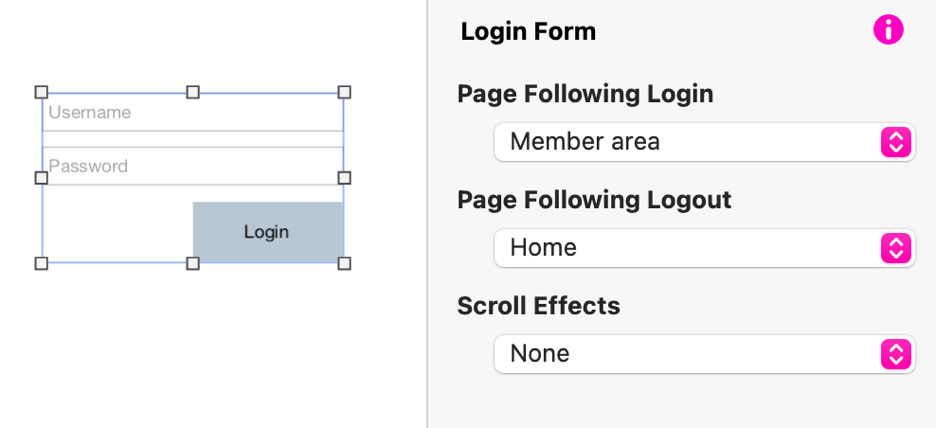
Within the login form settings you can specify which pages to send the site visitor after login and after logout. Only if the login form was shown as a side effect of an access to a restricted page, the visitor will be redirected to the page originally visited.
The login form is a combination of several elements, that behaves somewhat like a group, but you can click a second time on any of them to select them individually, and further customize them like any other element.
In a website containing users, the button also gains a “Logout” option.
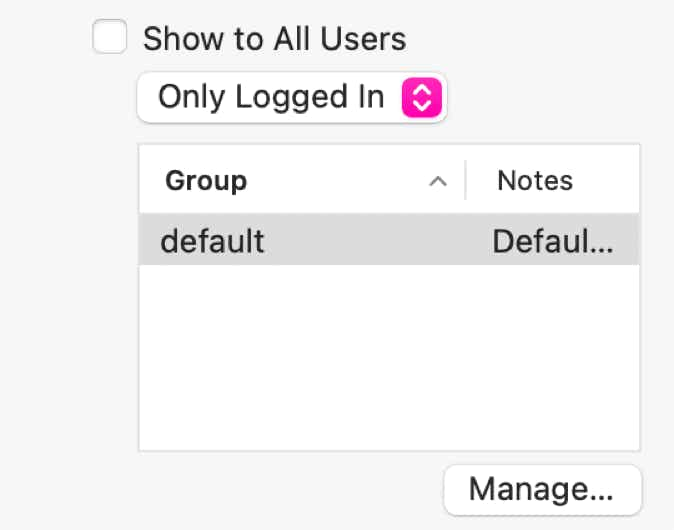
By using the “Show to All Users” option in the arrange inspector, you can make any page element visible only to logged in users (for example a logout button), or to logged out users (for example a login form).
The content of your pages, and any asset used in them (images, audio, video, downloadable files), are encrypted on the server. Viewing them will require login for access, so you don’t need to worry about users sharing either page or resource links.
User accounts
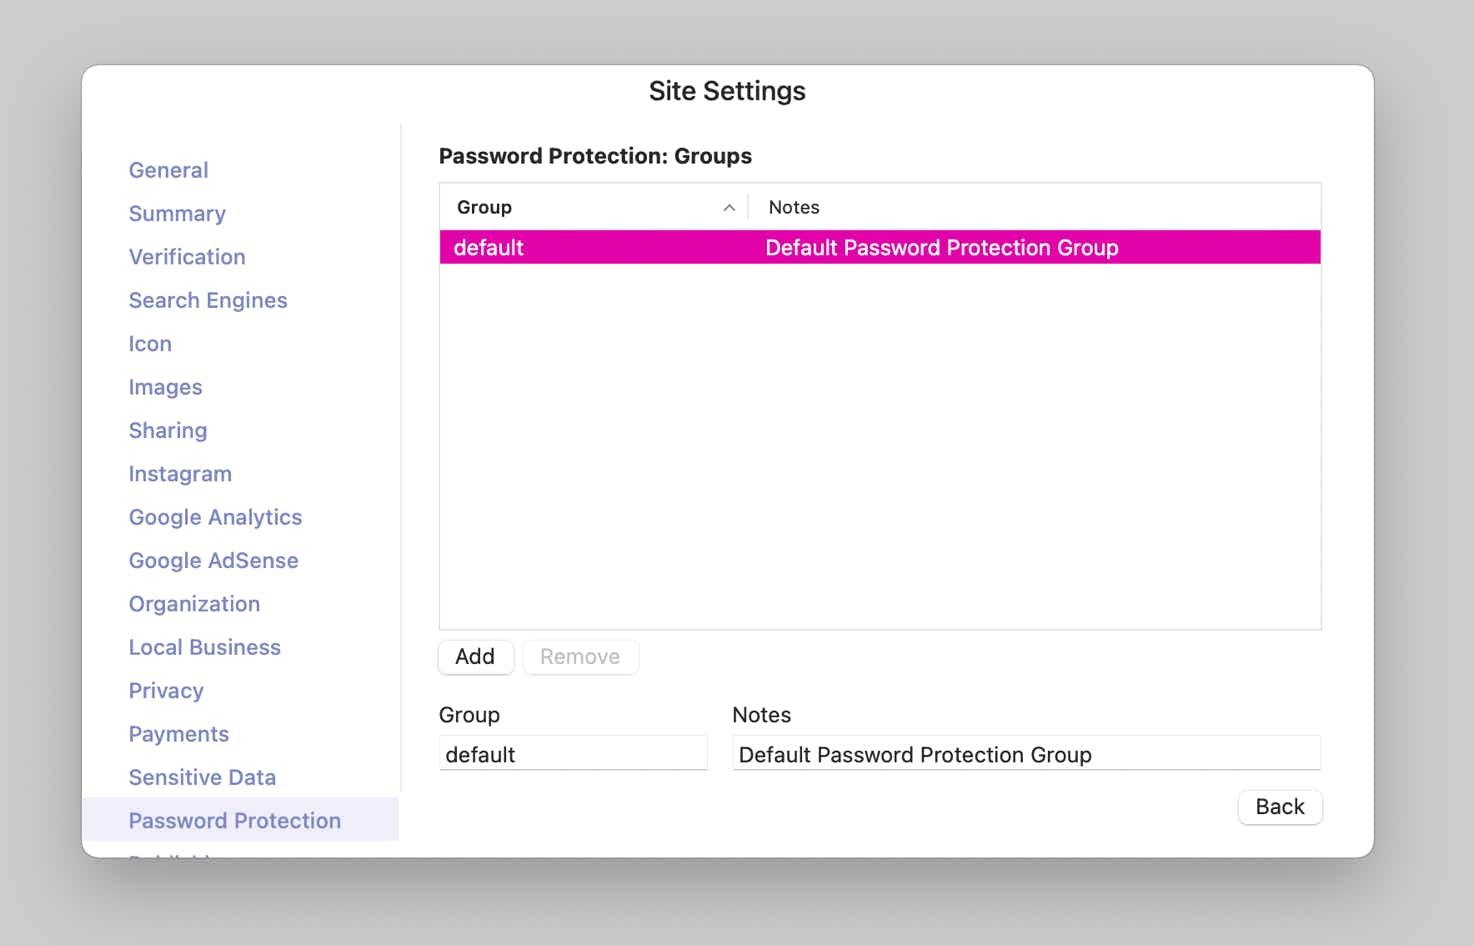
User accounts and group are created in the site settings. Access and visibility are assigned by picking a group, and a default group is created when you add a user.
Like other sensitive data, the first step in setting up user accounts is to set up the sensitive data password, if you haven’t already.
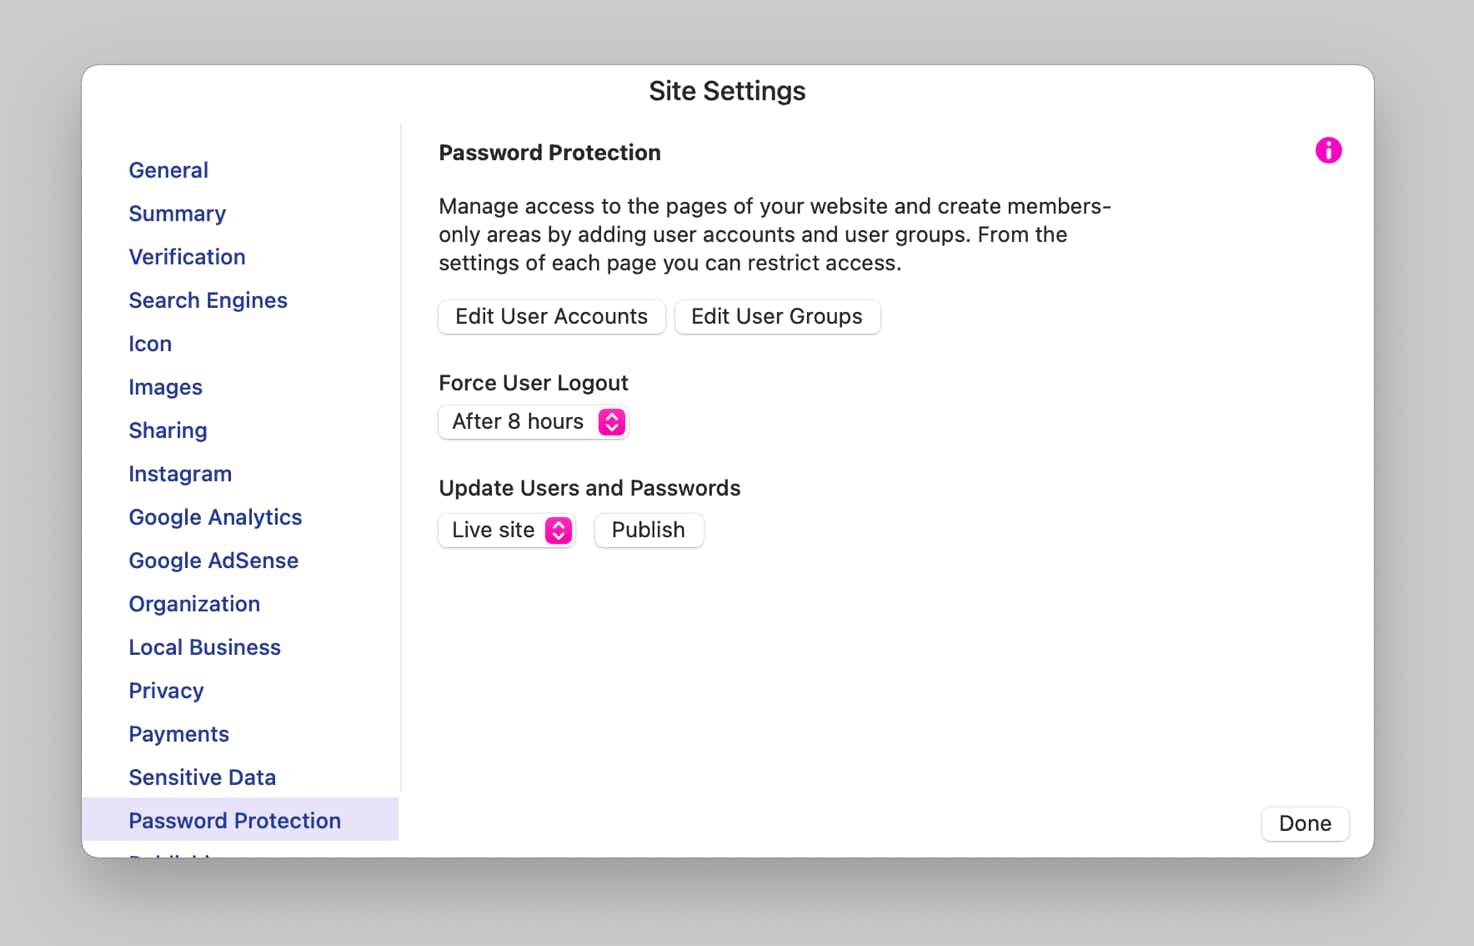
The main password protection settings screen gives you access to the different aspects of the feature.
The “Force User Logout” feature invalidates the login session of any user after the specified time, a common practice for logged in users.
You might need to quickly update only the user accounts, so the password protection control panel offers the convenience of publishing an update to the accounts file.
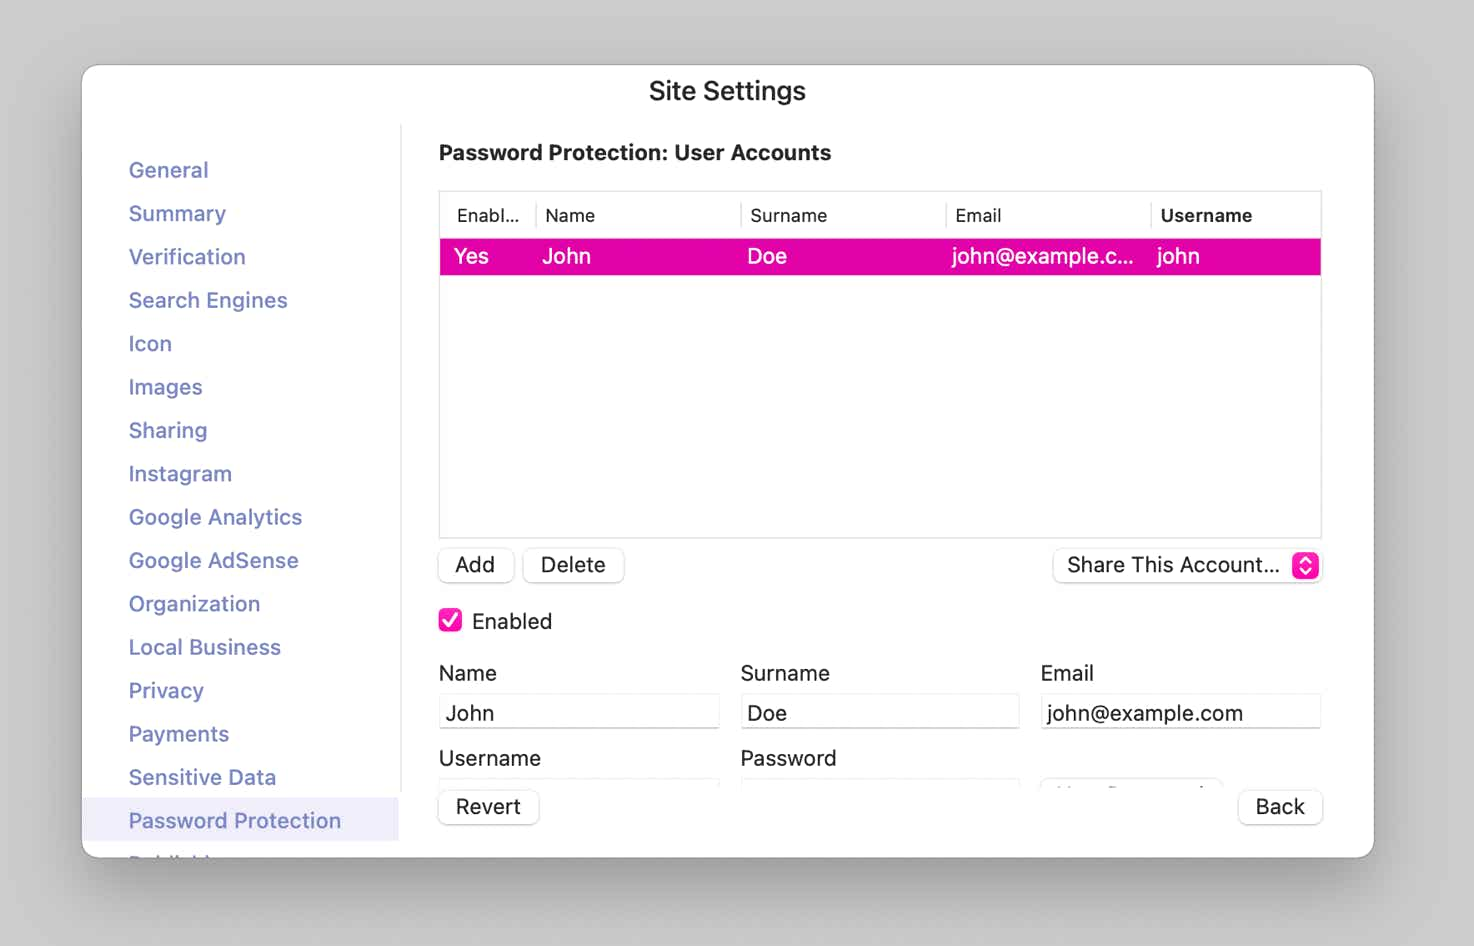
Clicking on the “Edit User Accounts” button takes you to the account manager, where you can add and remove users. User information includes a first and last name, a login, a password and two notes fields, one can be used in the published site, the other is for internal use. You will then be able to use the user information in the published site by adding user account smart fields to the site.
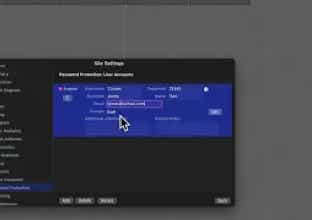
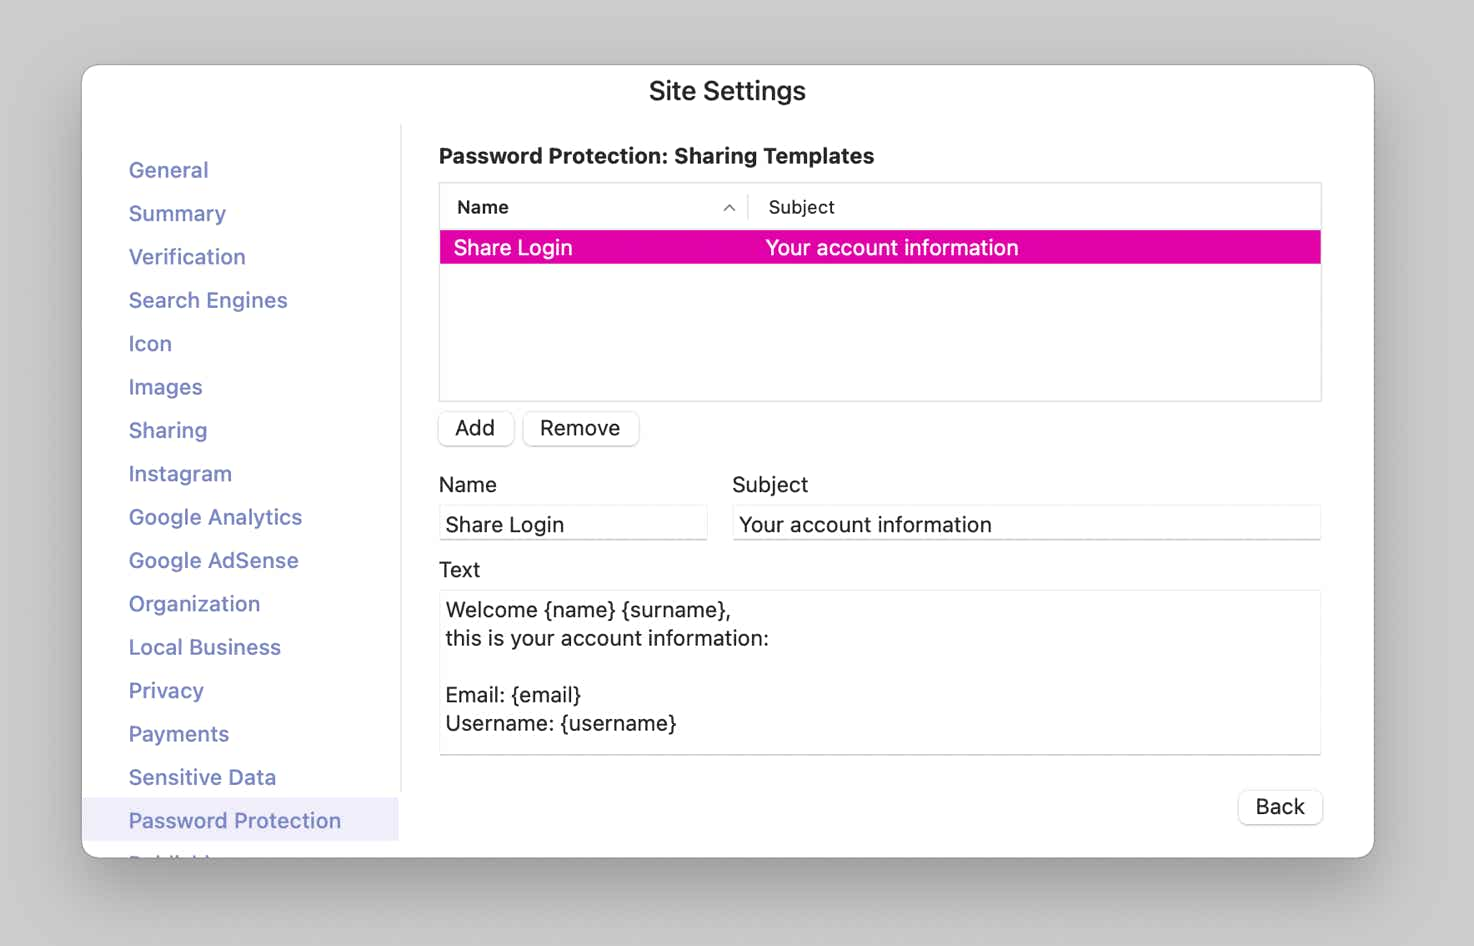
You can additionally share the account information by clicking on the “Share This Account…” popup, which contains a list of email templates. Sharing a login will open the email in your default email client in macOS. Email templates can be customized in the specific Sharing Templates screen. Here the body of the sharing email is constructed by entering the “{name}”, “{surname}”, “{email}”, “{username}”, “{password}” and “{info}” like this in curly braces, that will be replaced at sharing time with the corresponding account information fields.
Most websites will have the single default group, but you can create multiple groups to differentiate access to specific pages. Groups are configured in the specific settings screen.
Password Protection requires PHP to be active on the web server.
Please report any shortcoming in this documentation and we’ll fix it as soon as possible!
Updated for Sparkle 5.2
This website makes use of cookies.
Please see our privacy policy for details.
It’s Okay
Deny