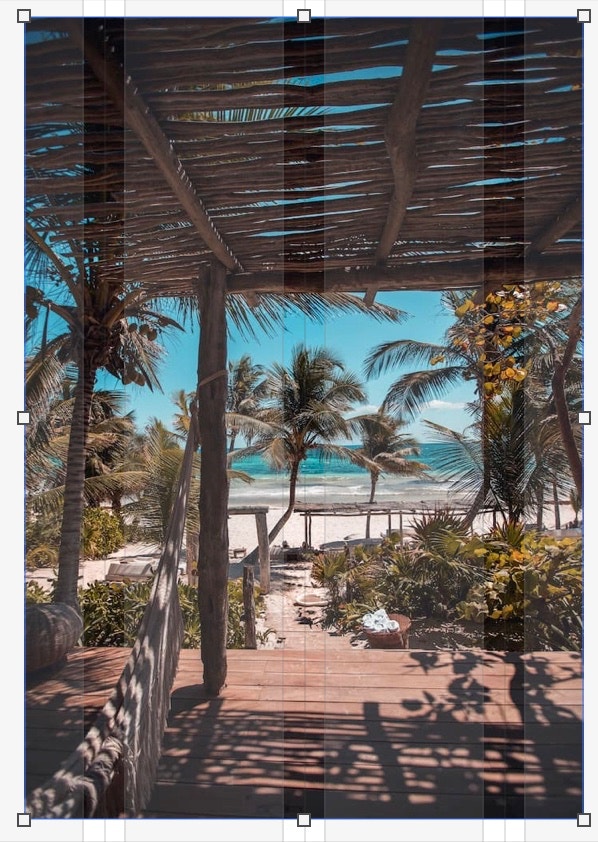
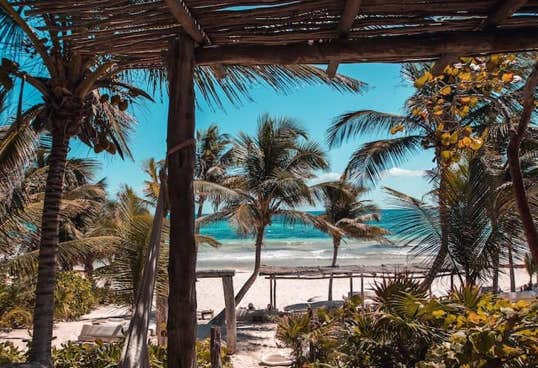
Images are an important part of most websites. Images help your visitors engage with your pages and better understand the messaging of your website. In Sparkle, you have many way to use and add image content to your pages. The simplest option is to just drag an image from your computer right onto the Sparkle canvas. This will be placed onto the canvas as an image element and will typically look like this:
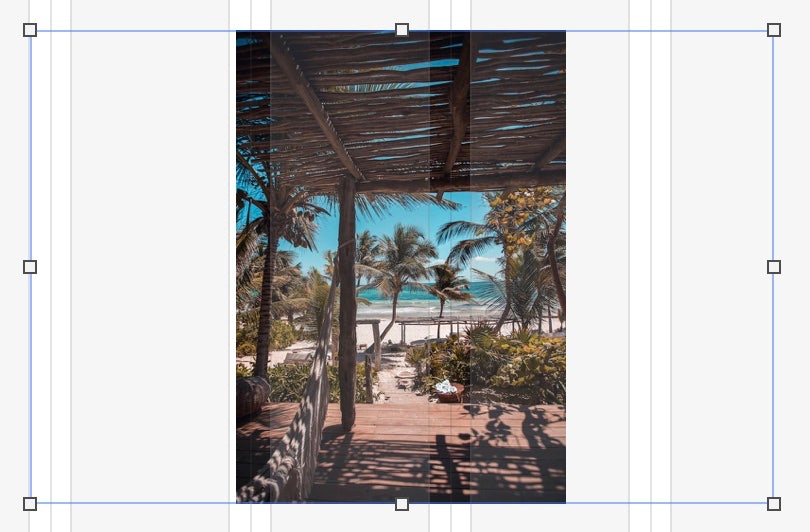
The image will, in most cases, be placed at its original dimensions and aspect ratio, To adjust the size of the image whilst retaining its proportions, hold down the shift key whilst dragging a corner handle. You can also change the image dimensions by dragging any of the resize handles without holding the shift key. This action will increase the size of the image box whilst keeping the image within the boundary of the box. This is called making the image ‘Fit’ and can be seen over in the style panel.
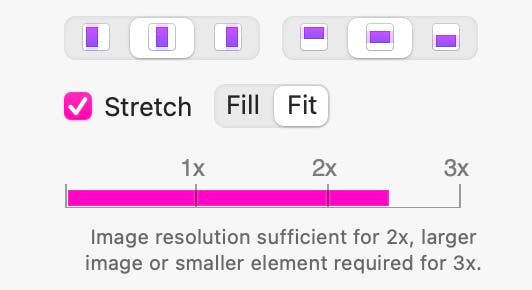
In the above example, the ‘Stretch’ checkbox has been selected, as well as the option to ‘Fit’ the image. This section of the style panel also lets you know if your images will be suitable for display on high resolution devices. In most cases, any image of less than 2x should be avoided if you want to maintain a high quality look to your website. The other ‘Stretch’ option is ‘Fill’. Selecting this option will enlarge the image proportionately until it fills the box completely.
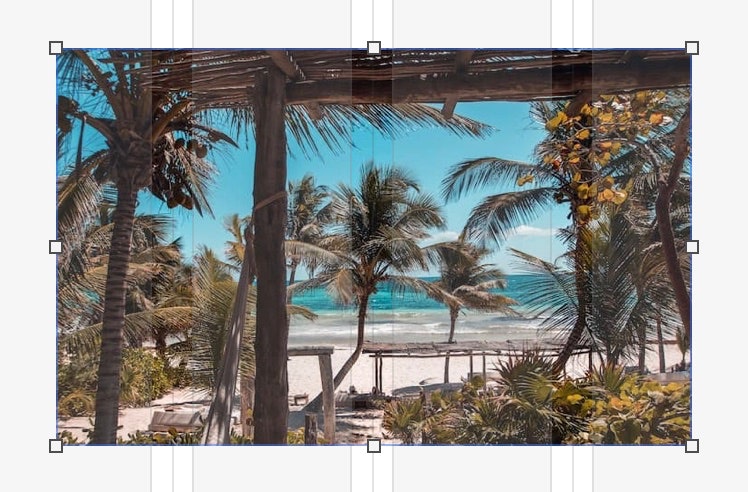
The fill option will effectively crop the image, in this example, the top and bottom of the image is cropped. By default, the cropped image will be centred within the image box. However, you can change the focus of the image with the use of the placement icons over in the style panel. There you can choose to have the top, middle or bottom of your image display in the box. If this were a landscape image placed in a portrait box, you could set the image box to display the left, centre or right of the image.

Styling Images
You can use the styling options in the Style panel to add borders, corner rounding, shadows, opacity or filters to your images. Here are some examples of the available options.


Rounding
+ Border
Rounding
+ Shadow
Full Rounding
Rounding + Border + Greyscale Filter
Adding Images with the Image element
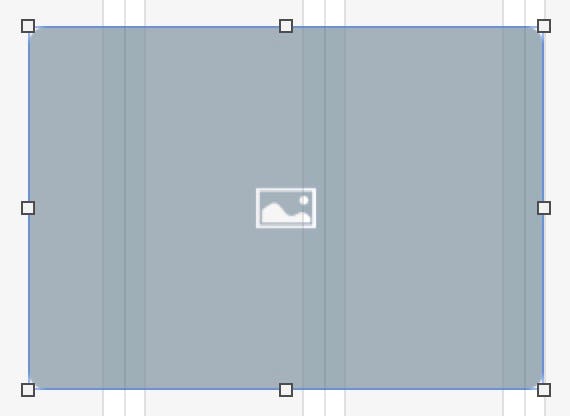
The image element is a great tool when first setting out your web page design. It effectively places a an image placeholder on the canvas which you can later populate with an image of your choice. When first placed on the canvas, it looks like this.
When you’re ready to add images, just select the placeholder, and add your image from the style panel.
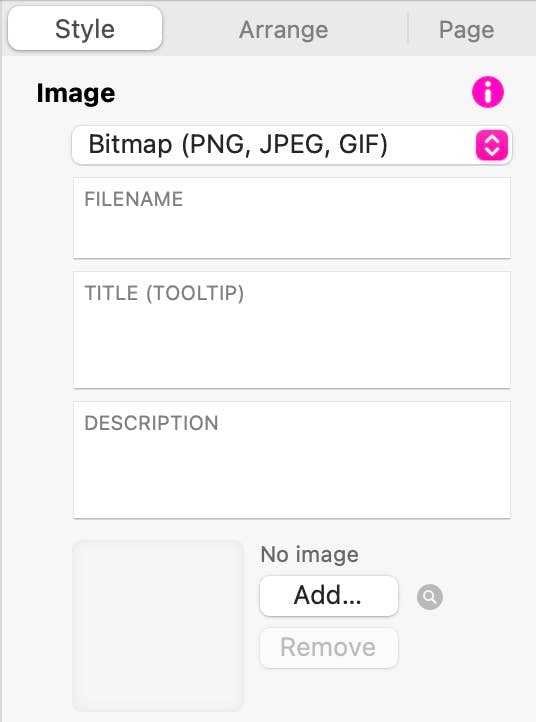
Clicking the ‘Add…’ button will allow you to browse for an image on your computer. You also have other image sources to choose from, Clicking on the ‘Bitmap (PNG, JPEG, GIF)’ selector will reveal the available sources.
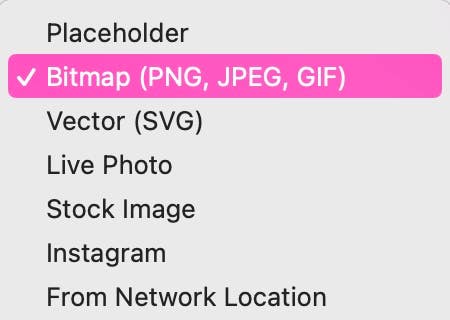
Vector (SVG)
These are typically pure graphic elements such as Logos, Icons or illustrations. These are created in vector graphic applications and usually have a very small file size. They are good in web design work because they can be scaled to any size whilst retaining their sharpness. They also have the advantage that they can be recolored right within Sparkle using the Colour overlay option in the style panel. Here is an example of an SVG Logo in both it’s basic monochrome form and as it will look with a color overlay applied.
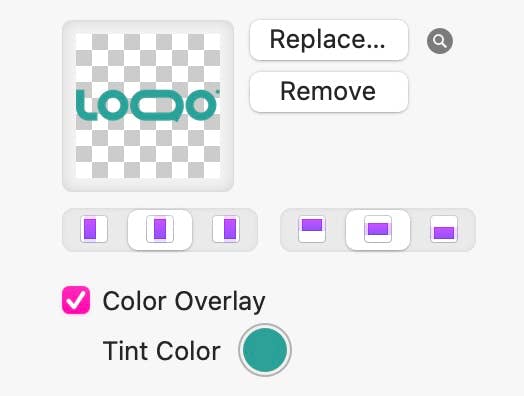
Some SVG’s will already be created with several colors. They can be used as they are and will retain all the advantages of the SVG format. However, using the color overlay option will remove the multi-color feature of the SVG. Here’s an example:
Live Photo
Sparkle supports the hybrid photo-video combinations that iPhones can shoot. By entering both the image and the movie file exported from Photos, you can produce a page that lets your site visitors see and interact with the Live Photo. You can get the still and movie files for a Live Photo by syncing your photos to Photos on the Mac and then picking the photo and using the File -> Export Unmodified Original command.
Stock Image
This option give you quick access to three of the most popular stock image libraries on the Internet - Pixabay, Unsplash and Pexels. Just hit the ‘Select’ button, choose your platform, and start your search for the perfect image.
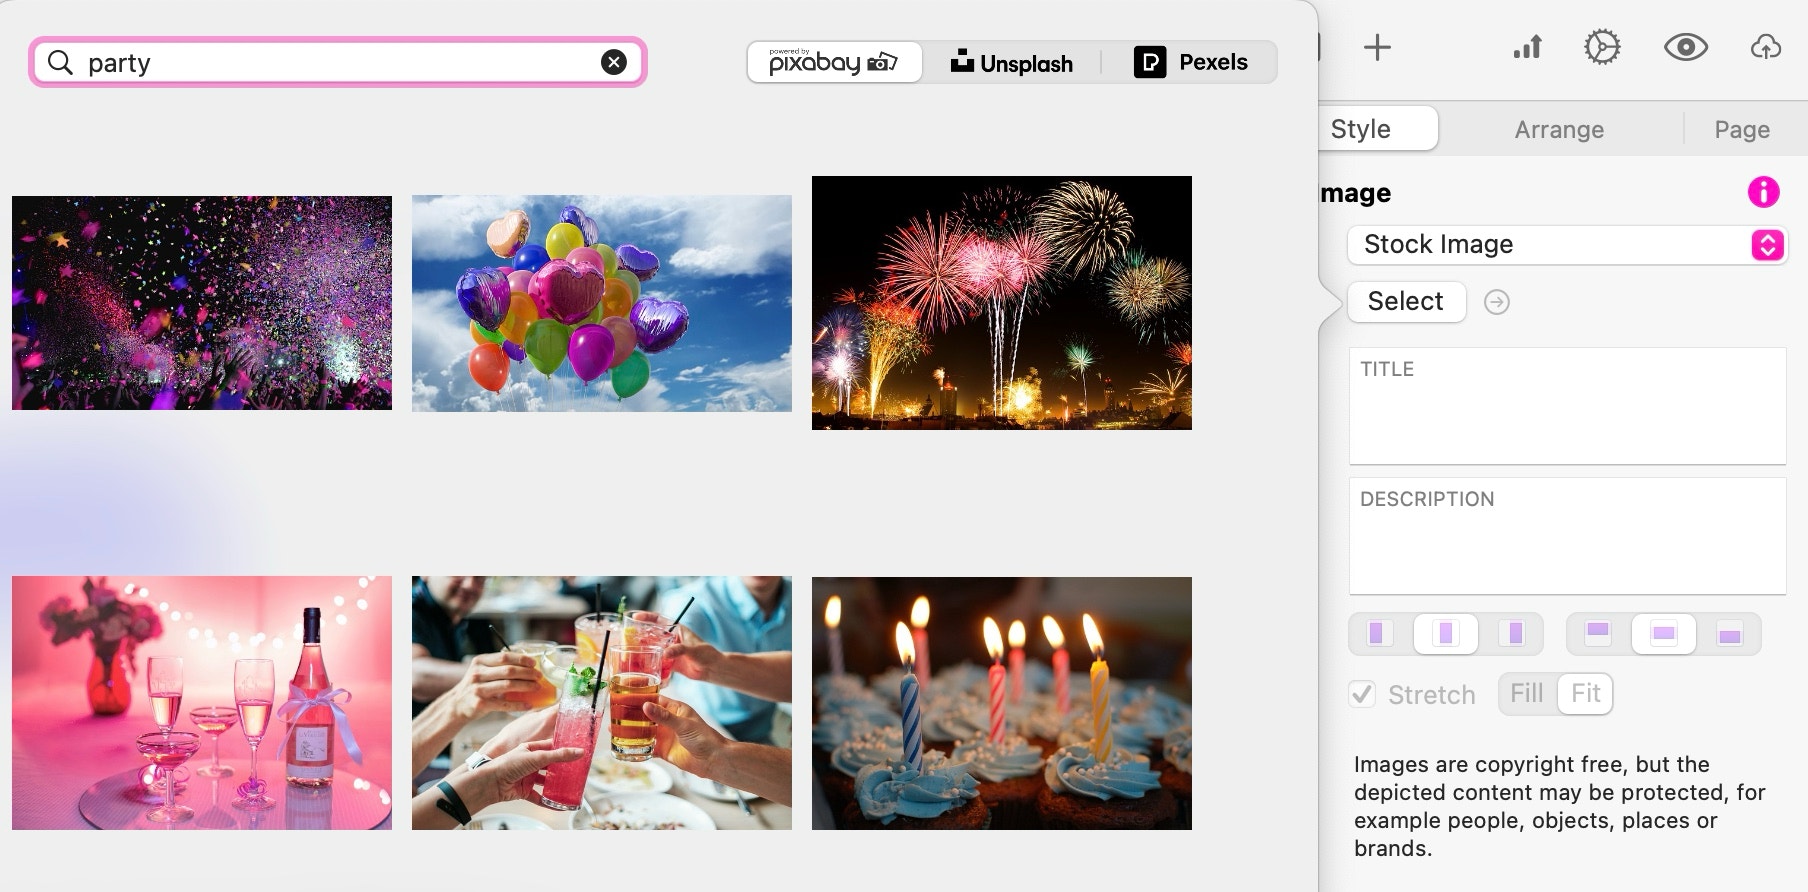
Important Note: Although stock images from these platforms will generally be available for use under very liberal licensing terms at no cost, access to the libraries through the Sparkle interface does not imply that the images may be used without restriction in every situation - particularly images that may contain faces of real people or trademarks. You are advised to check the specific license terms of any image you use on the website of the relevant platform.
This option allows you to add an Instagram feed to your page. Essentially, your website will fetch the images from your feed, removing the need for you to update your website when images in your feed change. You will have to authorize Sparkle to access your feed through the settings options before you can use this feature.
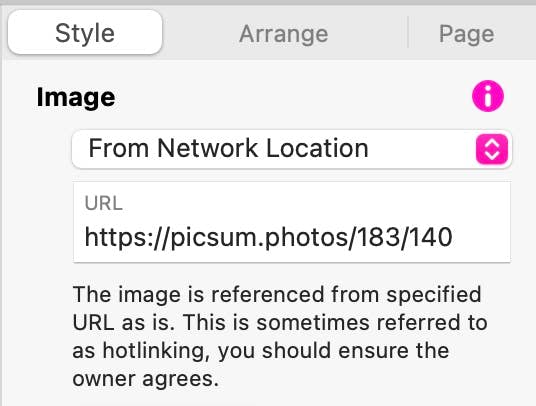
From Network Location
This option allows you to add images hosted on a remote server by entering the image URL in the style panel. This is often referred to as ‘Hot-linking’ and should only be used if you are the owner of the site you’re linking to, or you have permission from the site owner.
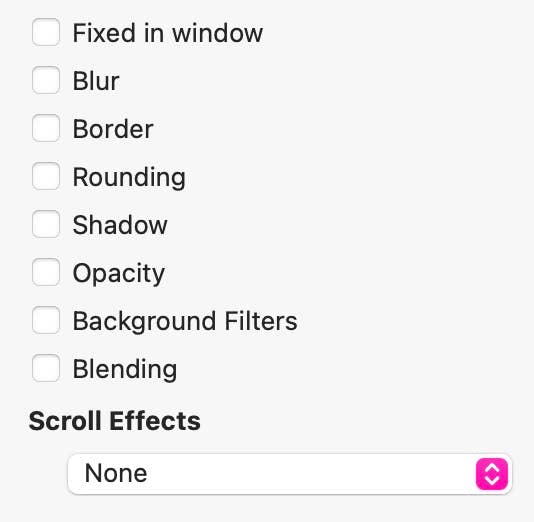
Styling Options
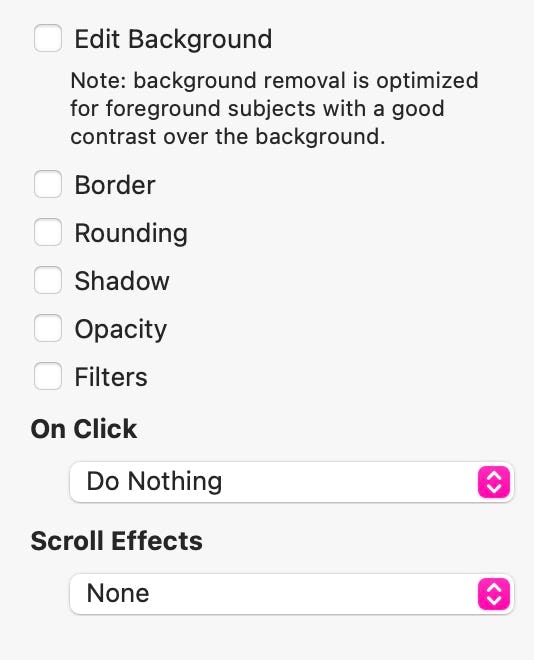
These are all listed in the styles panel, as shown here. Checking the styling checkboxes will reveal additional settings for each option. Additionally, you will be able to attach any of Sparkle’s on-click actions to your images, as well as scroll or one-time animation effects.
Other Image Placement Options
Images can be applied to other elements of your Sparkle page. For example, you can fill a standard box with an image. Whilst this may seem identical to adding an image box to the page, this option gives you a few additional features that are not available with a standard image element. The first thing you will notice are some additional styling options in the style panel.
Fixed in Window
This new option sends your image behind your web page, leaving the original box as a sort of window through which you can see the image behind. The image itself will remain fixed, whilst the box will roll over it as the page scrolls - revealing different parts of the image.
Blur
Here you can add blur to your image, which is a simple way to create a colourful background for something like a site header. Here is an example of a blurred image overlaid with a text box.
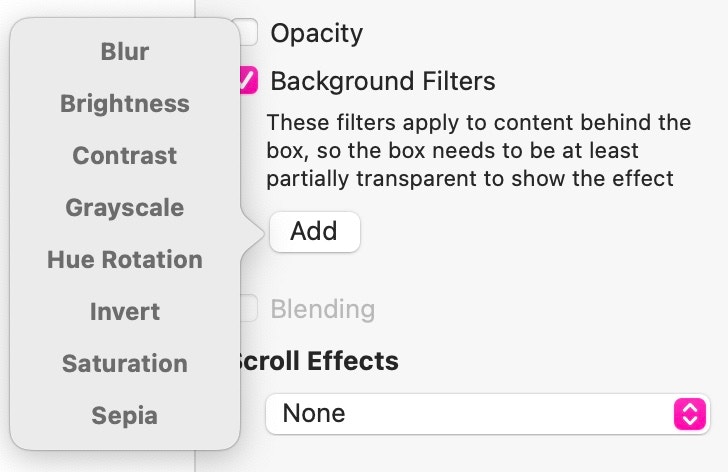
Background Filters
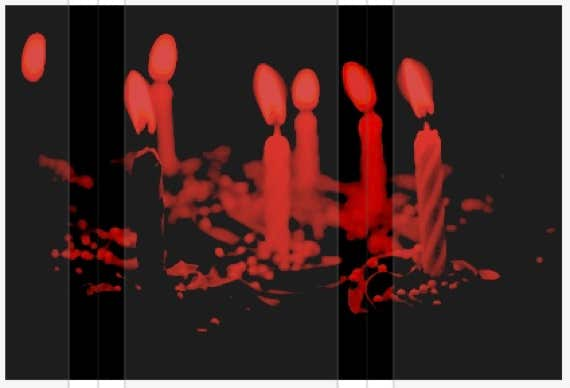
These options allow you to create some interesting effects, particularly for images that you may be applying scroll effects to. These filters do not change the image as such, but instead change the background behind the image. This means that the image must be partially transparent, or contain a transparent area (as in a PNG image) for the effects to be seen. To see how this works, a Blur filter has been applied to the ‘Eye’ Image on the right. As this page scrolls, the image will move up the page and start overlapping the content above it. When it overlaps, the content behind the image will blur. There are a number of effects for you to experiment with, so try them all to get a feel of how each works.
Blending
This is something for those with a little knowledge of blending effects. These are often used in graphic arts to create some interesting effects. For blending to work, there must be at least two elements, one placed above the other. The blending effect is then applied to the top most element. The option chosen will blend the two elements to create an effect. In this example, a red box has been blended with an image using the ‘colour burn’ blend effect.
+
Text over a Blurred Image
Same Image in different Backgrounds
In situations where you have a number of wide boxes on a page, and you want them to show the same background image. you simply add the same image as the background for each box and set the ‘Fixed in Window’ option. This will set the background image for all boxes on the page until a new background image is encountered. This provides for the creation of some interesting page elements, such as the example below.
In this example, two wide boxes have been added to the page, each with a background shift applied. The same background image was applied to both boxes and the ‘Fixed in Window option selected.
The background shift option obscures a portion of the background image, allowing other content to be added into the obscured portion of the page. This option is available on any full width box added to the page. The option looks like this.

Layout Block Backgrounds
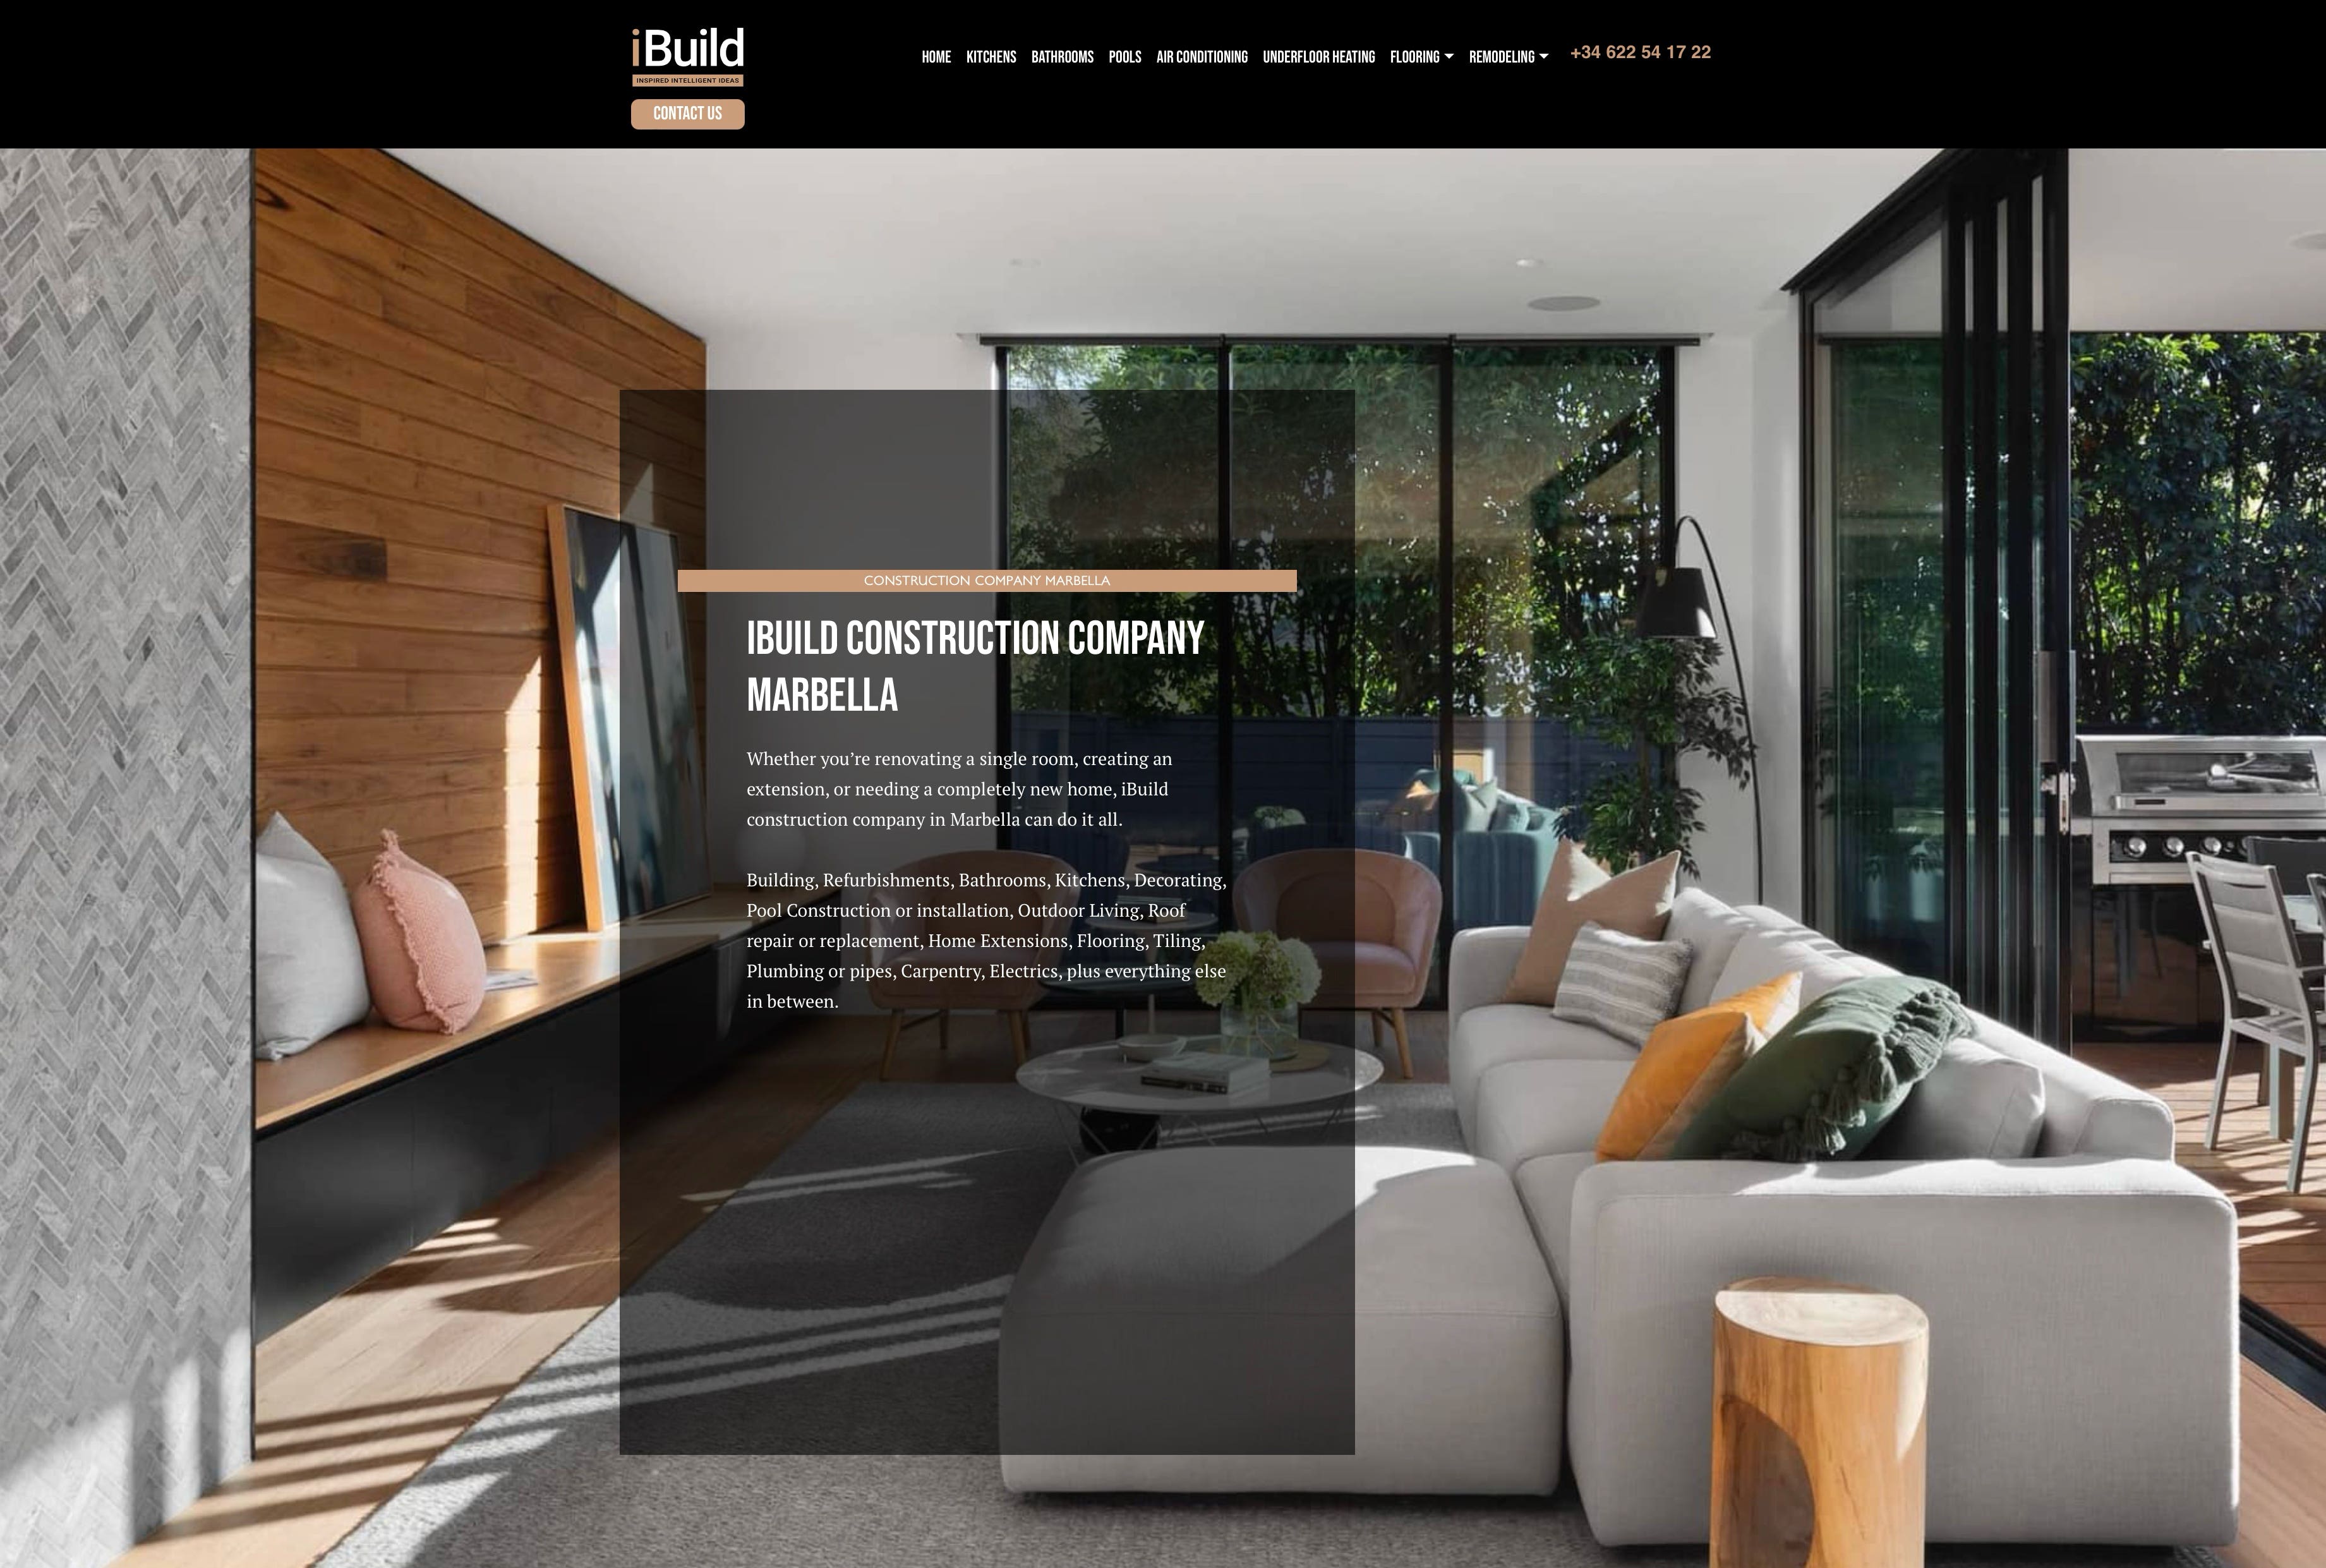
Wide boxes and layout blocks, including image/video grids, and Layout Grids can also have images set as their backgrounds. These elements span the entire browser width and can create dramatic full-width page elements to your website. This feature is commonly used to make a website Hero section, such as in the illustration below.
You add images to layout blocks and wide boxes in the background section of the style panel. You will be presented with the same choices as standard image boxes, plus a few additional fill options such as gradients and patterns.
Images used as backgrounds are particularly effective when used with the ‘Fixed in Window’ option - creating a parallax-type effect where the web page rolls over the image as it’s scrolled.
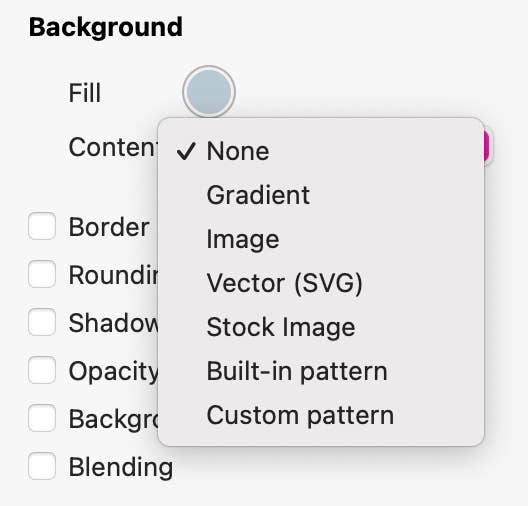
Image Buttons
Images can also be added to buttons as backgrounds by selecting the button on the canvas, and then selecting ‘image’ from the Background fill options in the style panel. You will be able add different images for each button state to create some user interaction when hovering/clicking a button. A common way to use this feature is to use variations of the same image for normal and hover states. For example, have the normal state image in full colour, and the hover state image as a monochrome version. This is how we created the button illustrated here.
A more convenient way of creating image buttons could be to place an image on the canvas, and then right-click on the image and select ‘Convert to Button’ from the context menu.
Button

Editing Image Backgrounds
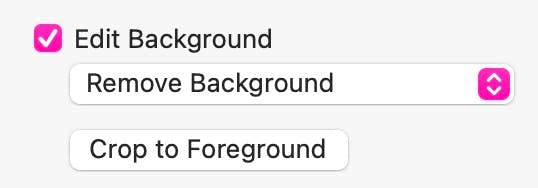
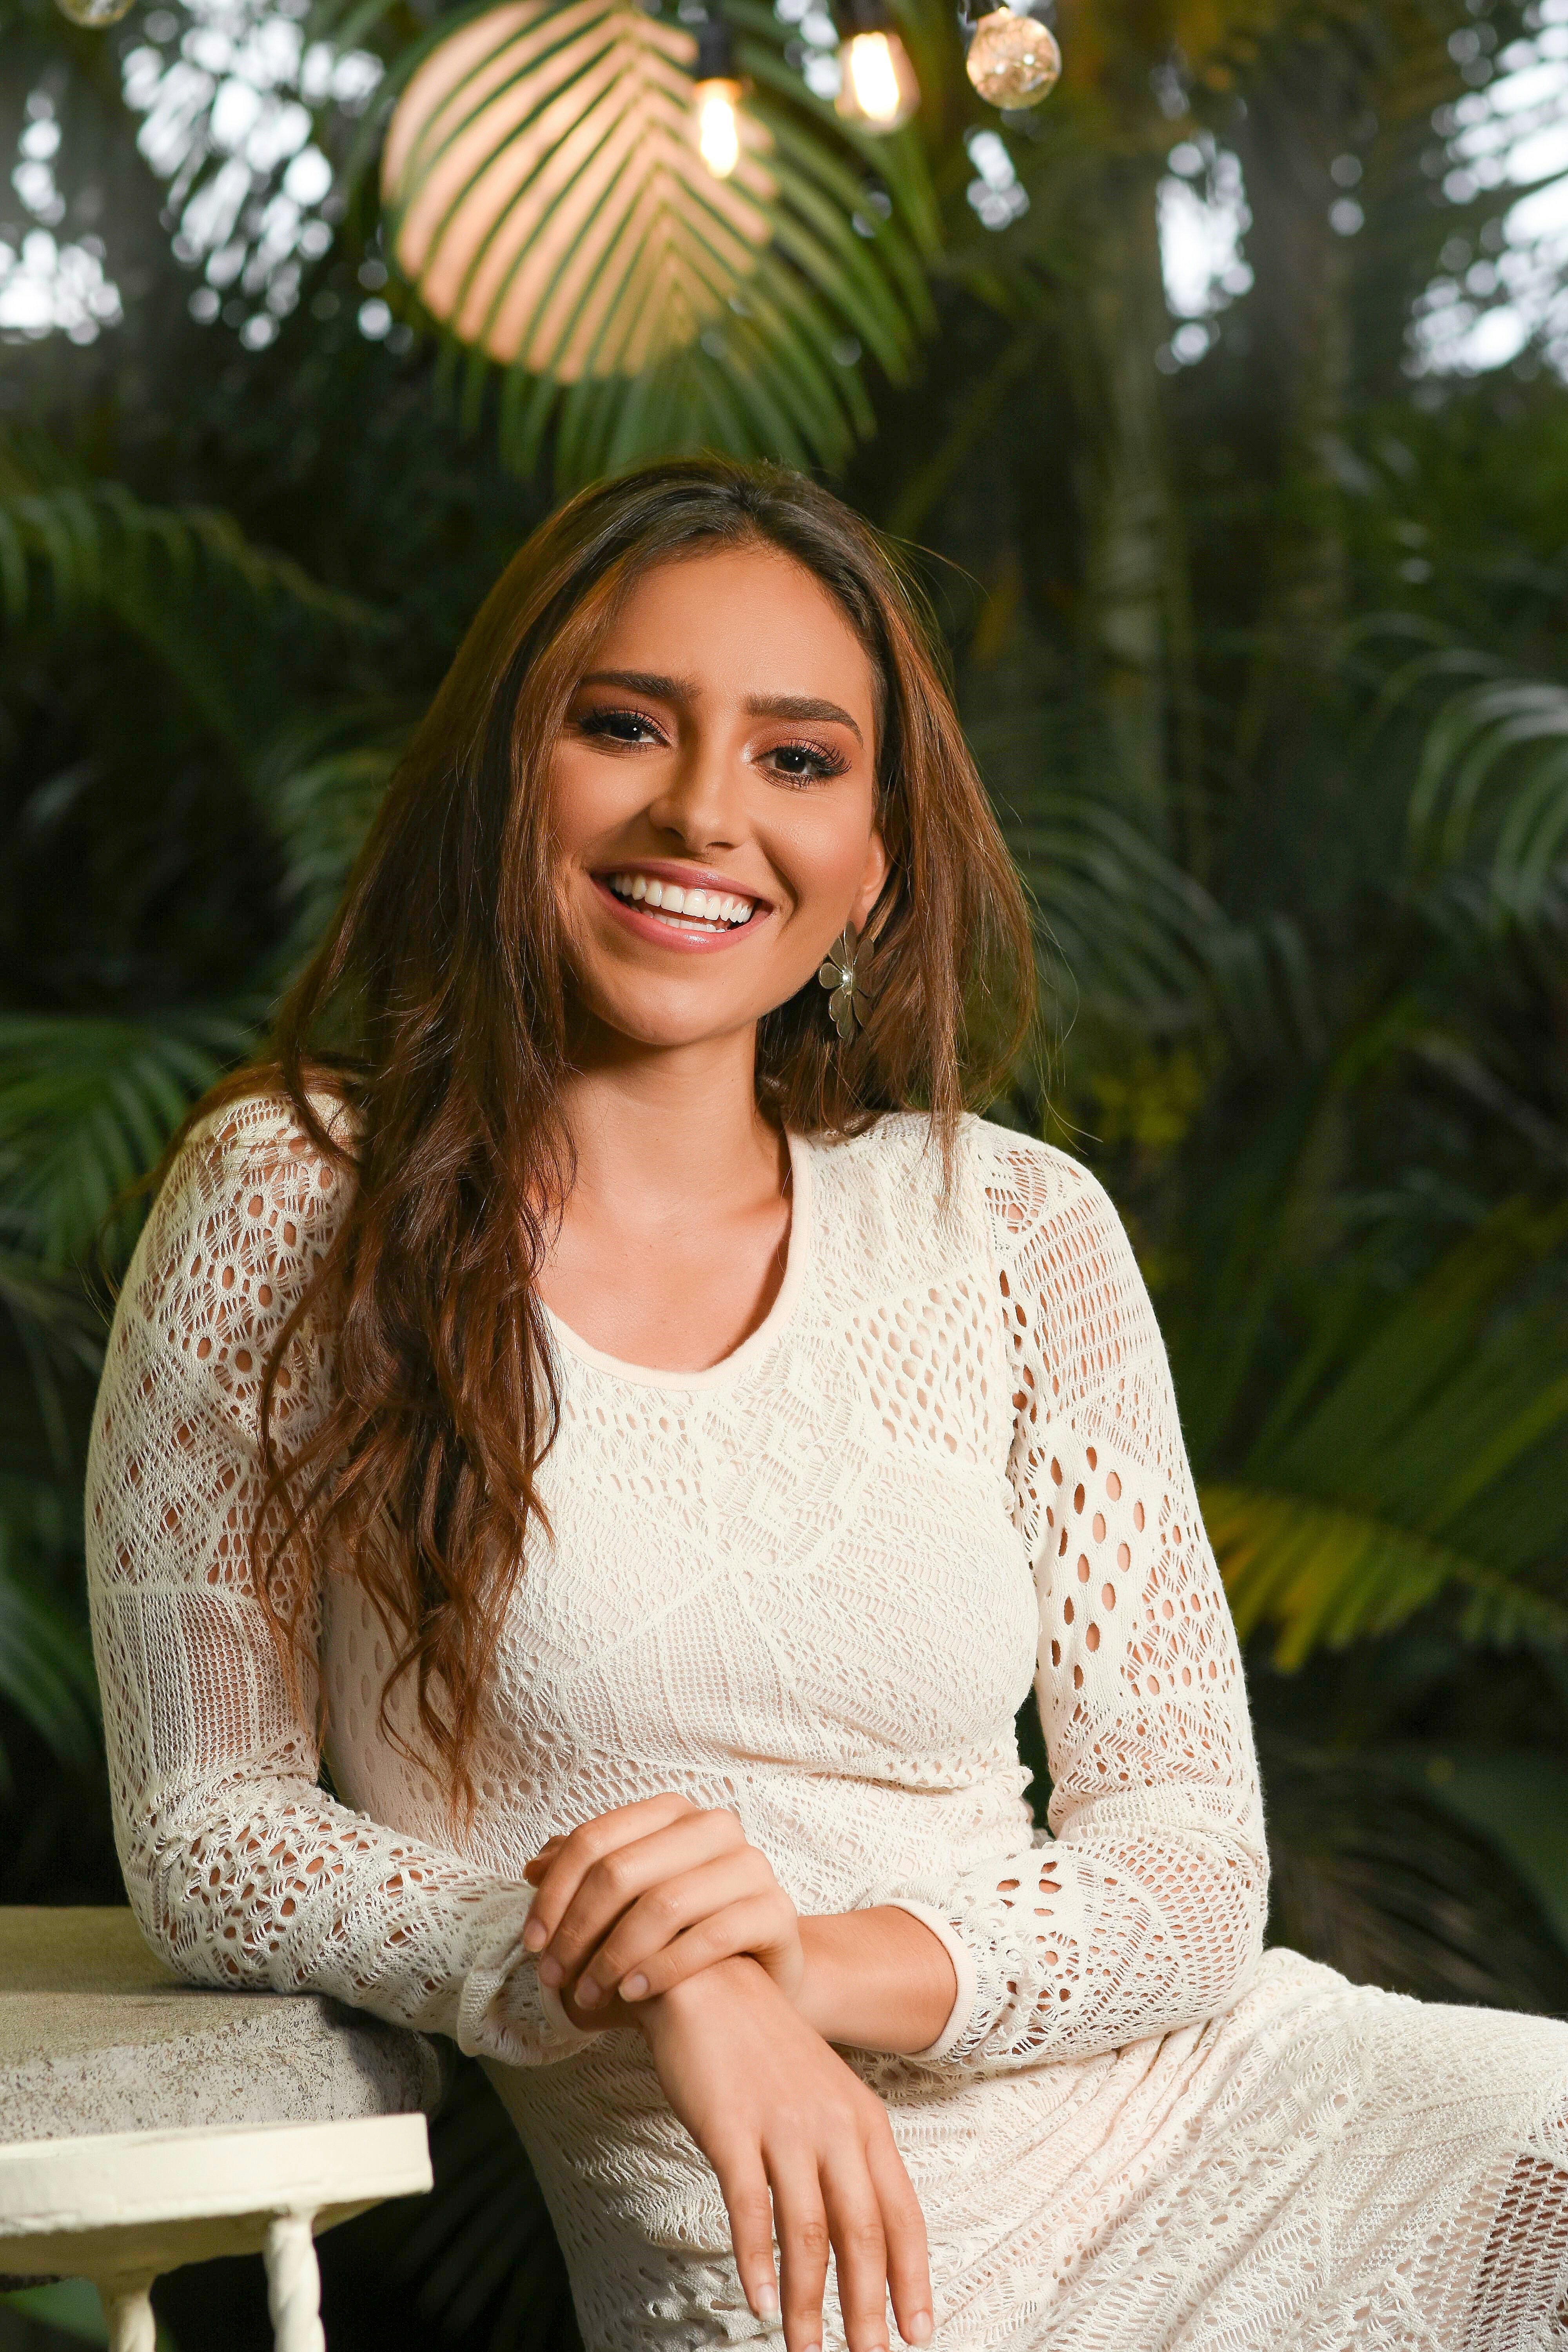
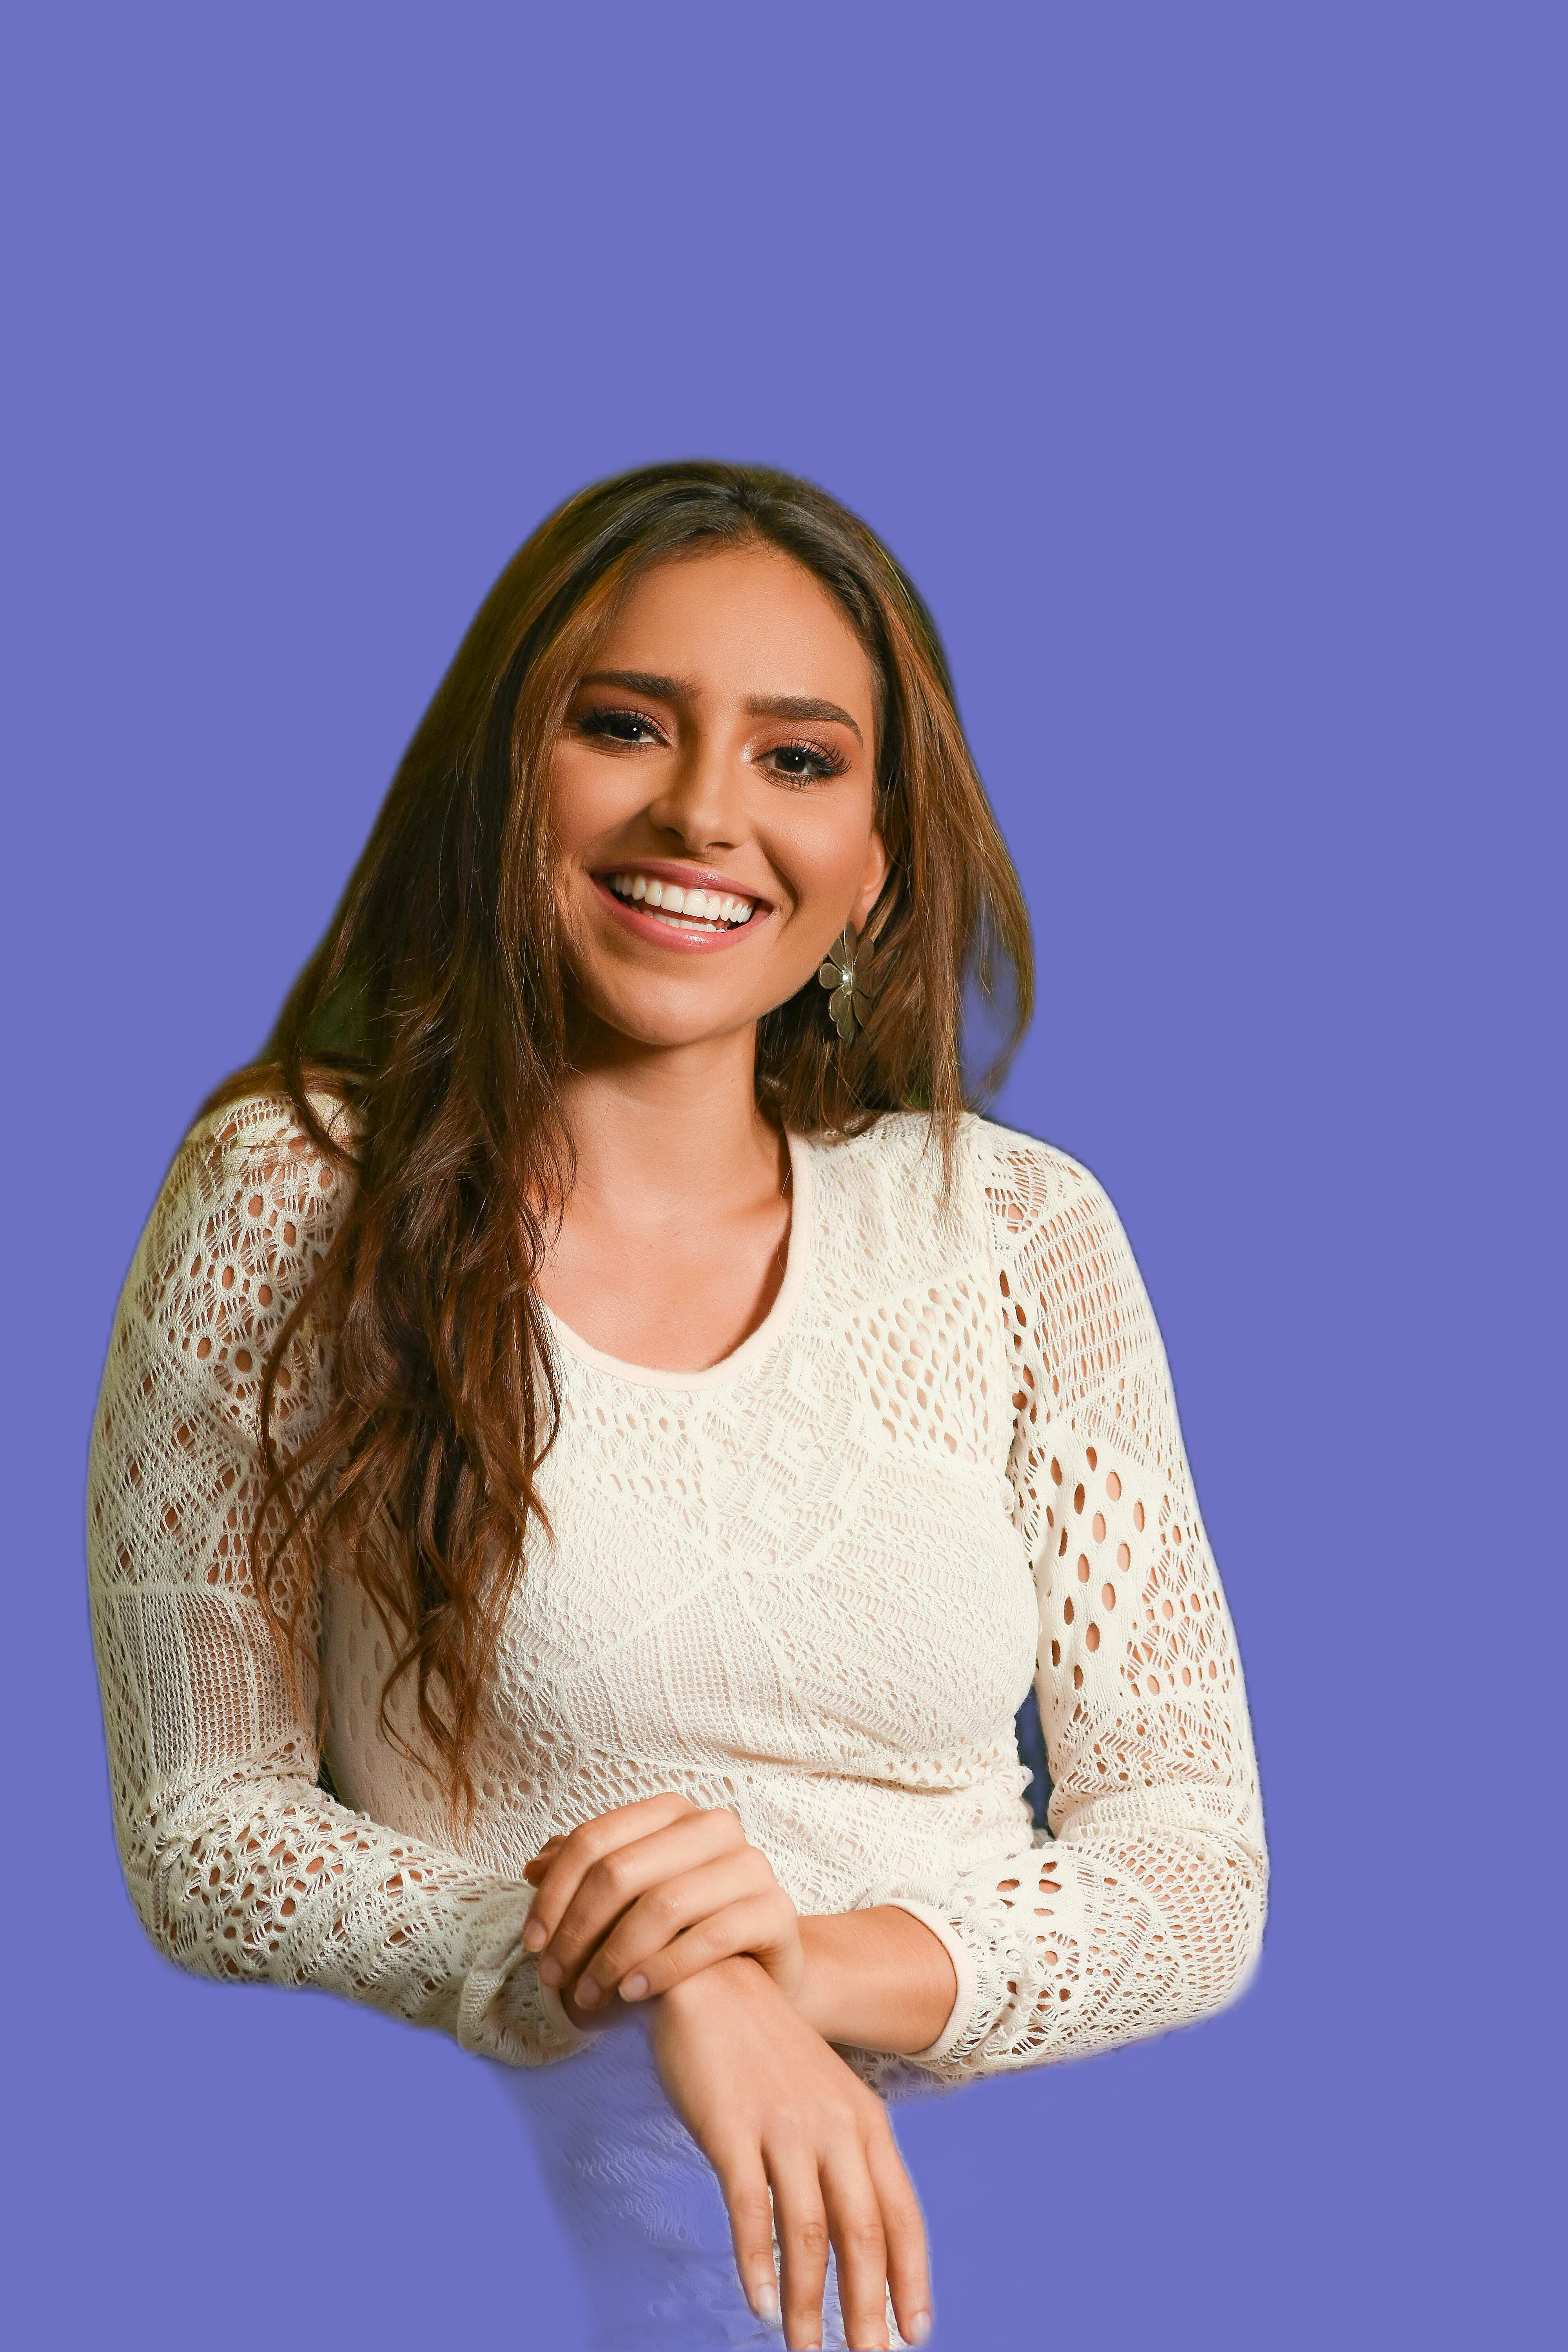
If you place an image on the canvas that has a Cleary defined background and foreground, Sparkle can attempt to edit, or even remove the background for you with a single click. Removing the background will turn the image into a transparent PNG, allowing you to place it over another background of your choice. Here’s an example of how this feature works.

With the original image selected, check the edit background box in the style panel. Choose the option to remove background. The result will a transparent image as can be seen here. You can also have Sparkle automatically crop the image to the foreground.

Other background effects can also be added with the same option - just select the effect you want from the drop-dow list. Here are examples of the various options available.
Original Image
Bokeh Background
Solid Colour Background
Defocus Foreground


Please report any shortcoming in this documentation and we’ll fix it as soon as possible!
Updated for Sparkle 5.5
This website makes use of cookies.
Please see our privacy policy for details.
It’s Okay
Deny