Imagine creating an effect that's not only super easy to pull off but also adds that extra oomph to your design. We're talking about setting an image as fixed in window – it's like magic!
This technique gives your design a quasi-parallax effect, making your page more engaging. The result? A page that's not just pleasing to the eye but also as smooth as silk.
So, where do you start? Grab an image that sets the message you're going for. Now, create a box, fill it with that image, and get ready for the game-changer – click on "fixed in window." Boom! You just turned your design up to eleven. Easy, right? Here is how it works.
When you choose the fixed in window option, you are effectively doing two things. Firstly, the box containing the image becomes a window in your web page. The image itself is sent behind that widow and remains fixed in the browser - behind your web page. The animation below shows how this works - just scroll the page to see how the elements fit together.
The web page window glides OVER the image as its scrolled.
The Image sits BEHIND the web page and is fixed in the browser
And here is how it’s done. Just remember you need to start with a BOX and then add your image as the box content. Once you’ve added your image, select the Fixed in window option in the style panel.
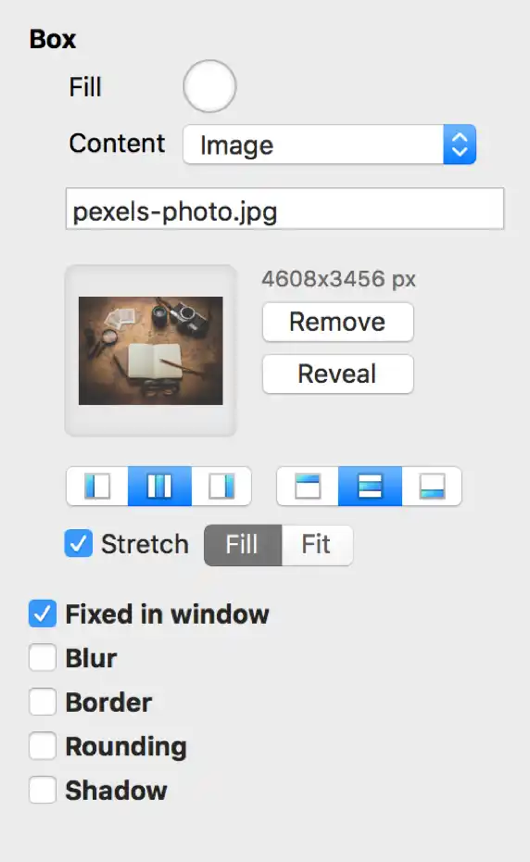
Remember, you can use a normal box, or you can use a wide box or layout block. With these wide options you would add the image as a background image, but still select the Fixed in widow option. The difference will be that the background image will span the full browser width.
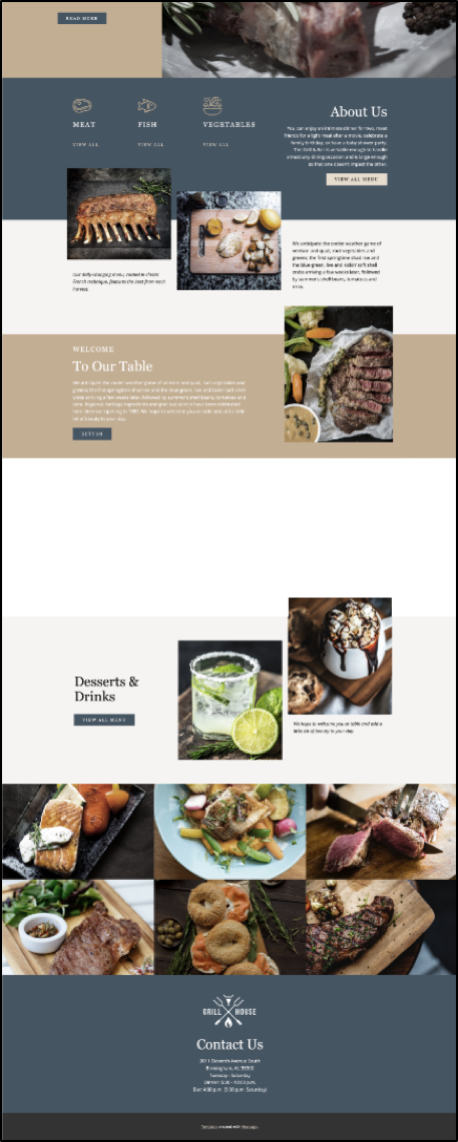
By combining different elements on top of your Fixed in Window image, you can create some visually engaging hero sections for your website, such as the example shown below.
MY AUTOS
TRAVEL
THE WORLD IN
STYLE

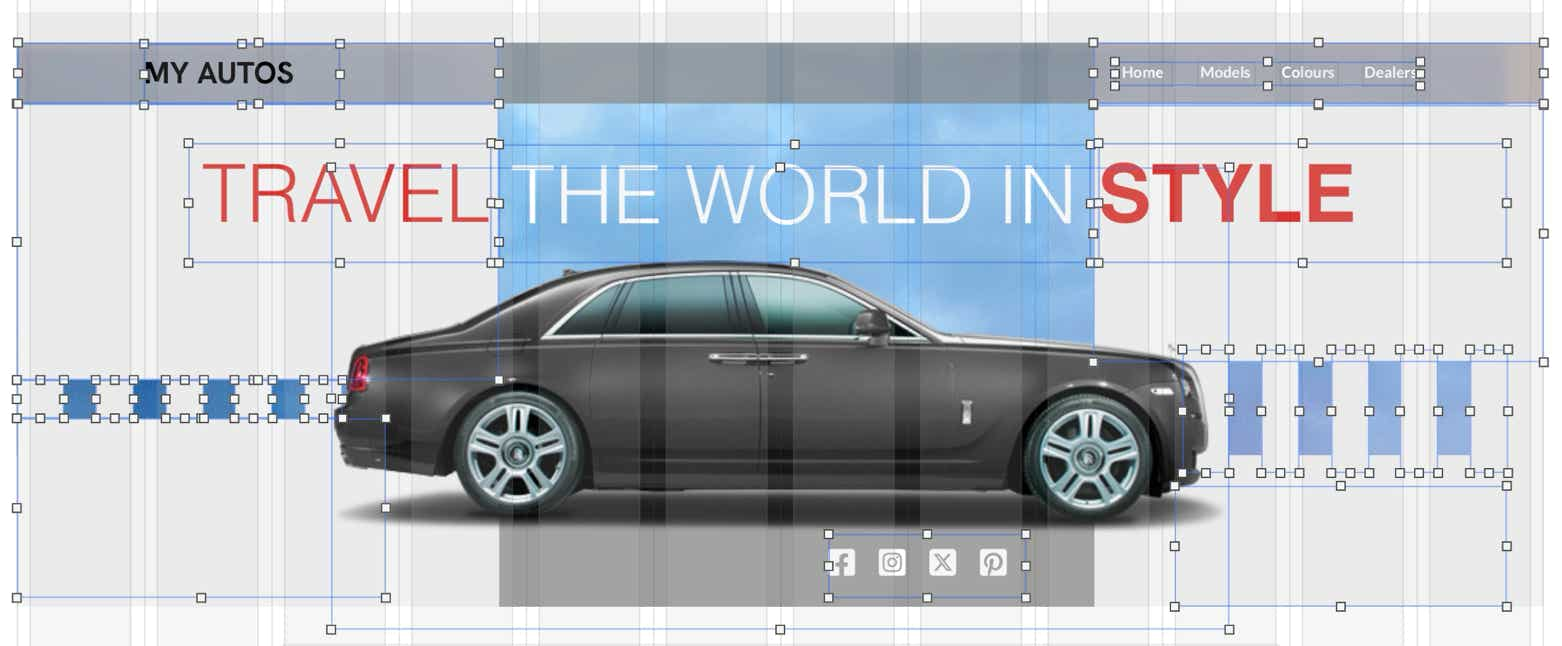
In this example, we created one large Fixed in Window image box, then overlaid it with several boxes to obscure parts of the image we didn’t want visible. Next, a navigation and social media bar, a text headline and a PNG image of the car were added to complete the hero. Very simple but also very effective. The image below shows how all the elements appear on the Sparkle Canvas.
Please report any shortcoming in this documentation and we’ll fix it as soon as possible!
Updated for Sparkle 5.5
This website makes use of cookies.
Please see our privacy policy for details.
It’s Okay
Deny