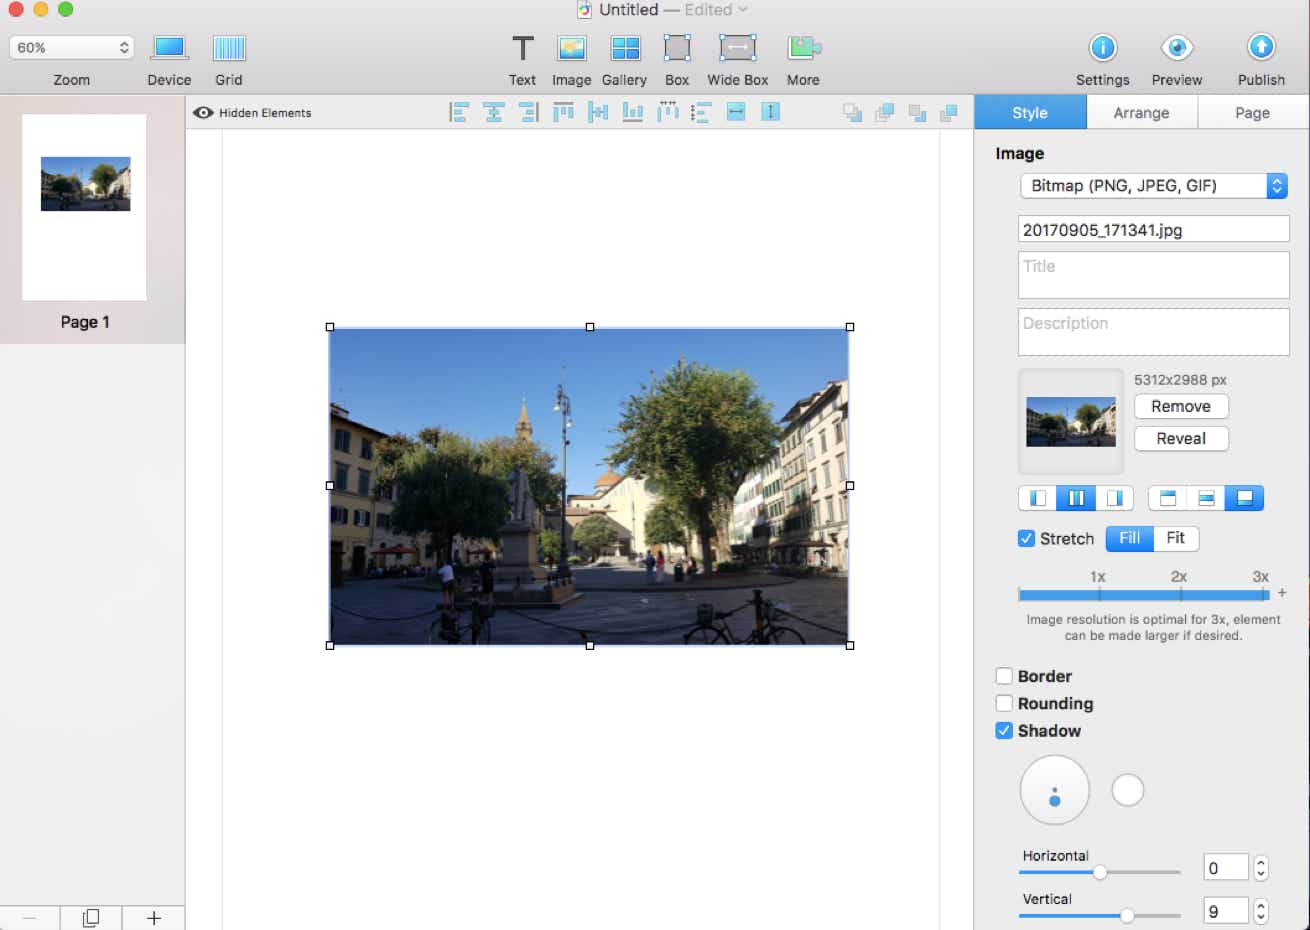
There is no direct ‘reflection’ option for images in Sparkle, but, following this tutorial, you can re-create the same effect manually. To begin with, add an image to your page by selecting ‘image’ and then ‘add’ on the inspector, or else copy and paste. Then, make the image bottom-aligned using the icon furthest to the right of the six alignment icons.
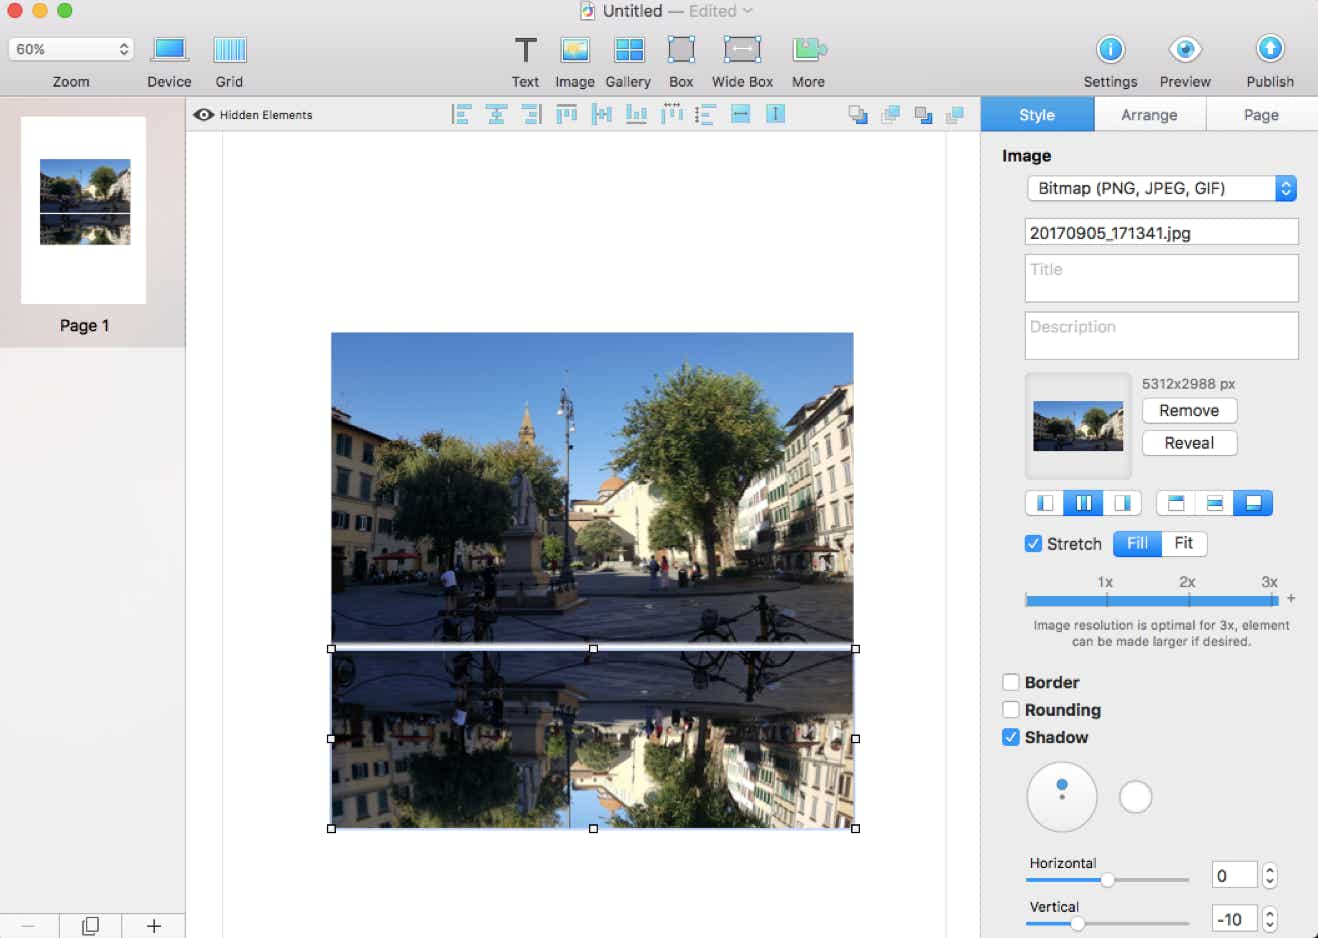
Now duplicate this image: copying and pasting it will place it automatically on top of the original, which is ideal for this tutorial.
Drag the top handle of the image below the bottom one, inverting the duplicated image vertically and bringing it directly below the original. For a reflection effect, it is better to reduce the height of the image to approximately half of the original.
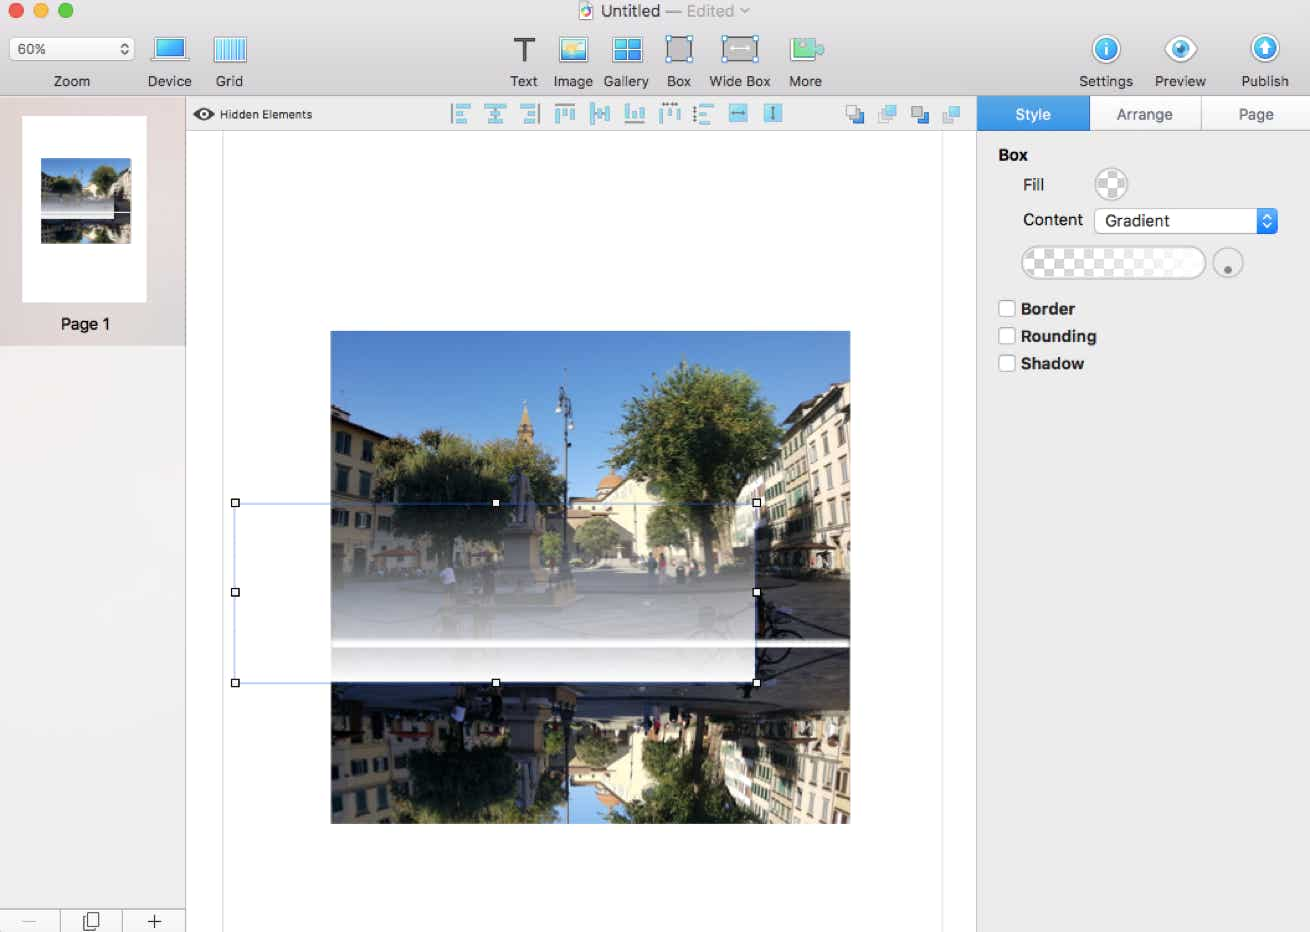
At this point, overlay a box onto the bottom image (select ‘box’ from the toolbar) and give this box a ‘gradient’ content, with the top part transparent (shown as a black-and-white cube grid) and the bottom part white (as this matches the background of our page).
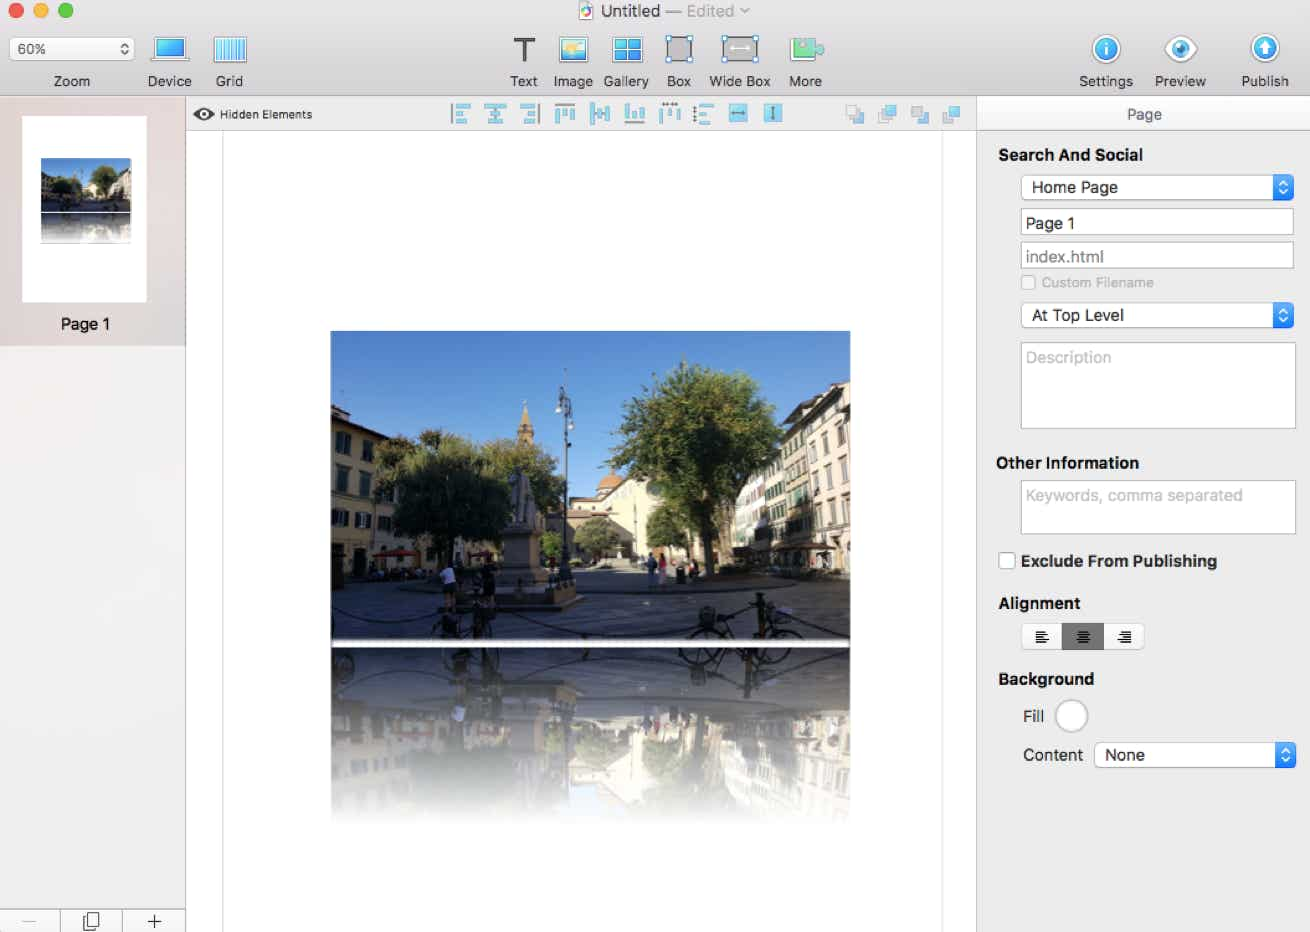
Finally, adjust the bottom image and box distance from the top image, and make sure the box is aligned with the bottom image. In this example there is a little spacing to separate the images, producing a slight “height” effect, but they can be joined closer together. For further info see the ‘images’ section.


Please report any shortcoming in this documentation and we’ll fix it as soon as possible!
Updated for Sparkle 5.5
This website makes use of cookies.
Please see our privacy policy for details.
It’s Okay
Deny