In its simplest form, a blog is an informational section of a website, or a complete website in and of itself, consisting of diary-style text entries. Posts are typically displayed in reverse chronological order so that the most recent post appears first. News and magazine sites are often formatted like blogs, ensuring that the latest news is delivered first, with historical news being selectable from an index of previous articles. Of course, blogs can now be styled to include images, videos and other website elements. But, essentially, all blogs work in much the same way.
The core ingredient of a blog is a ‘Blog Post’. This is the main article that is posted for the world to see. When the post is created, it’s automatically entered into an ‘Index’ of posts, with the very latest post being the first item in the index. As successive posts are made, the first post in the index is replaced with the latest one - pushing all the other posts down the index list.
In Sparkle, you add a blog to your website by clicking on the Blog icon at the top of the interface. It looks like this.

When clicking this icon you will see a small pop-up allowing you to choose what you want to create.

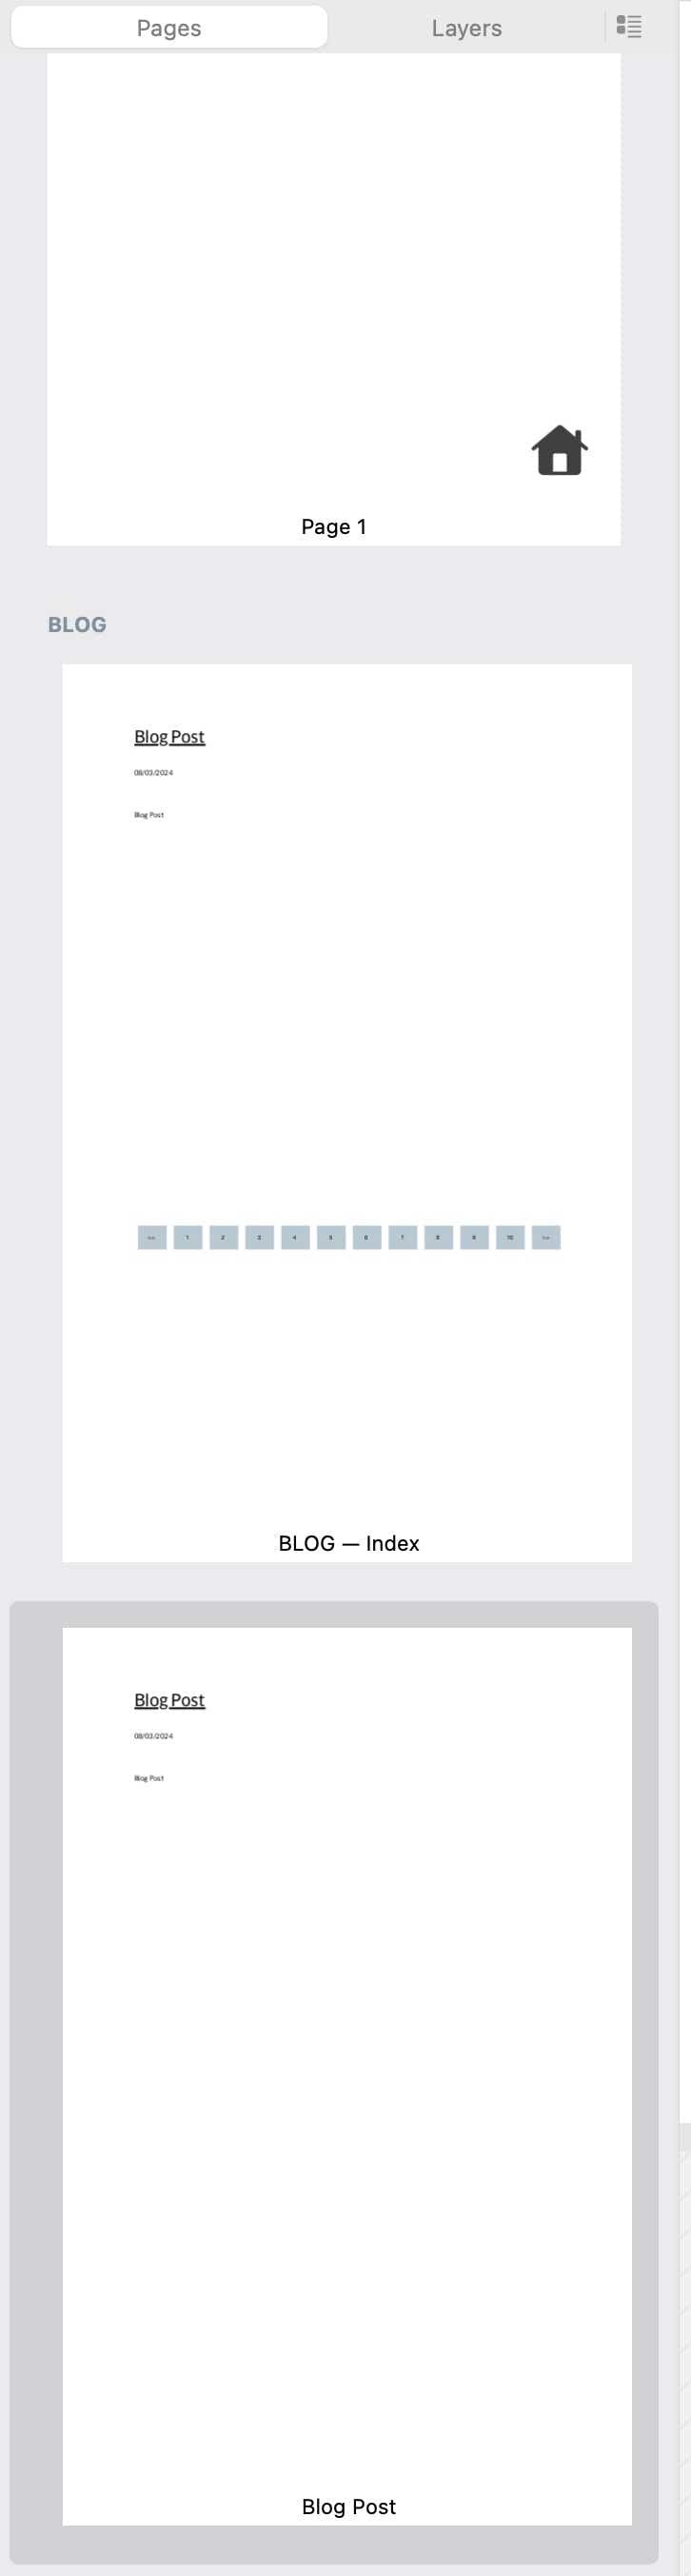
The first time you add this element to the canvas, the only option you have is to Add Blog Post and create a New Blog. This option does two things. Firstly, it creates a section in your website named Blog. The section will automatically have two pages - one called Blog Index, the other called Blog Post.
You will see these pages in the Pages Panel on the left of the interface. For the time being, forget about the index page - just look at the Blog Post page. This is how it looks on the canvas.
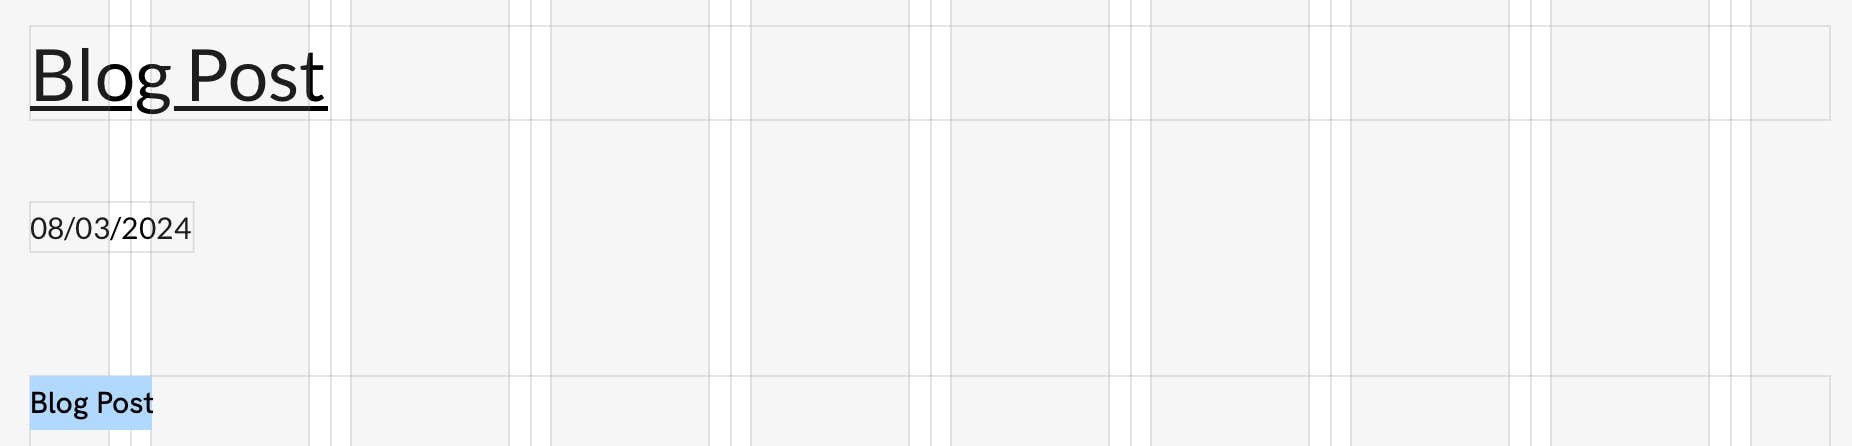
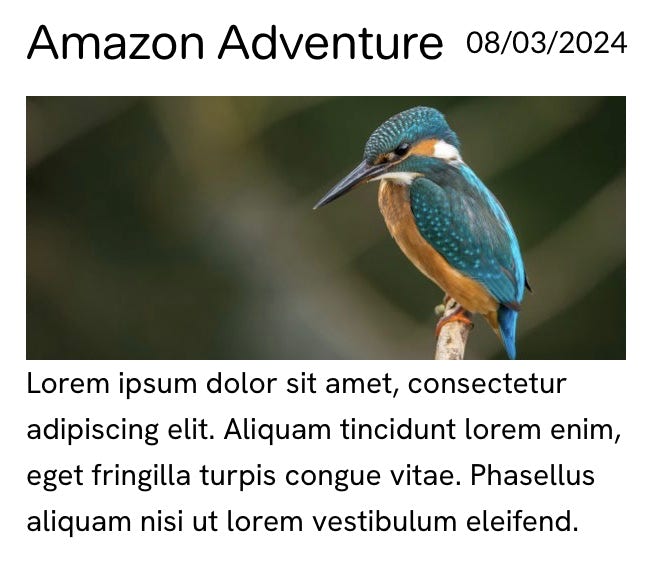
It contains a title, a date and a text placeholder for your actual post. These three elements can all be styled just like any other page element in Sparkle. In fact, you can add any other content to this page that you wish, including buttons, forms, images, main site navigation and video - it’s a normal page just like any other.
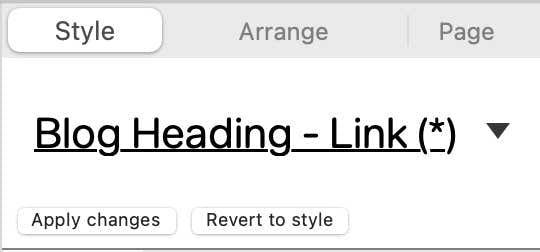
The blog post title has a text style attached to it named Blog Heading Link. If you make changes to the style of the title, be sure to update the style in the style panel by clicking on the Apply changes button. This will ensure a consistent look to all your subsequent blog post titles.
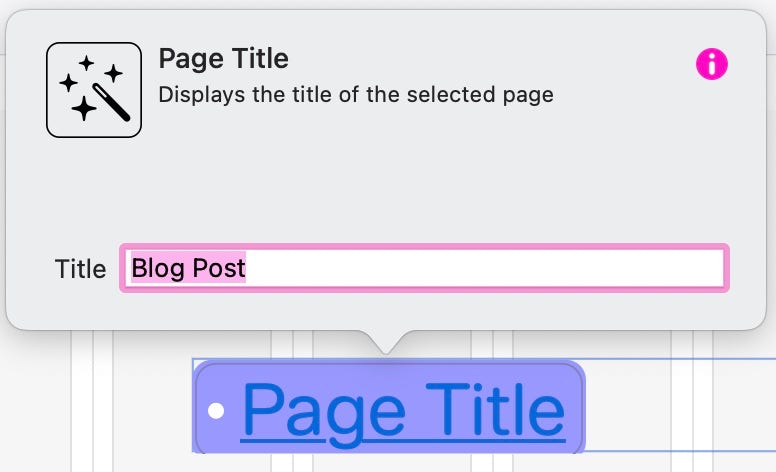
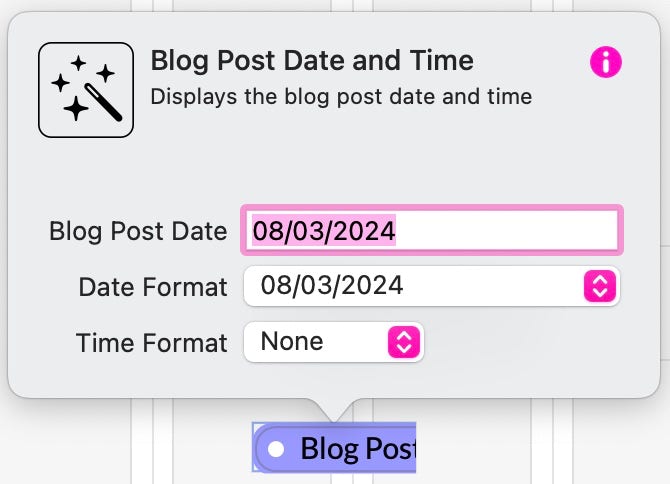
You can do the same for the date and the Blog Post body. The date is styled as Blog Metadata and the post body is the standard body text style for your website. If you click on the Blog Post heading on the canvas TWICE, it will change to Page Title. Click a third time and a small popup will appear allowing you to create a title for your blog post.
The same can be done for the date, only in this case, you will be able to set a date as well as format the date and time.
These elements of the page are very important for maintaining the integrity of the blog section of your website. They are actually Smart Fields that are used by Sparkle to index your blog posts, so they should not be deleted. You can move them around and position them wherever you wish, but they must remain part of the page.
Creating your first post
Now that your essential pages have been created, you’re ready to create your first blog post. Essentially, you add text to the blog post and any other content you may want to include. You can arrange your content however you wish. Here is an example of a blog post page.
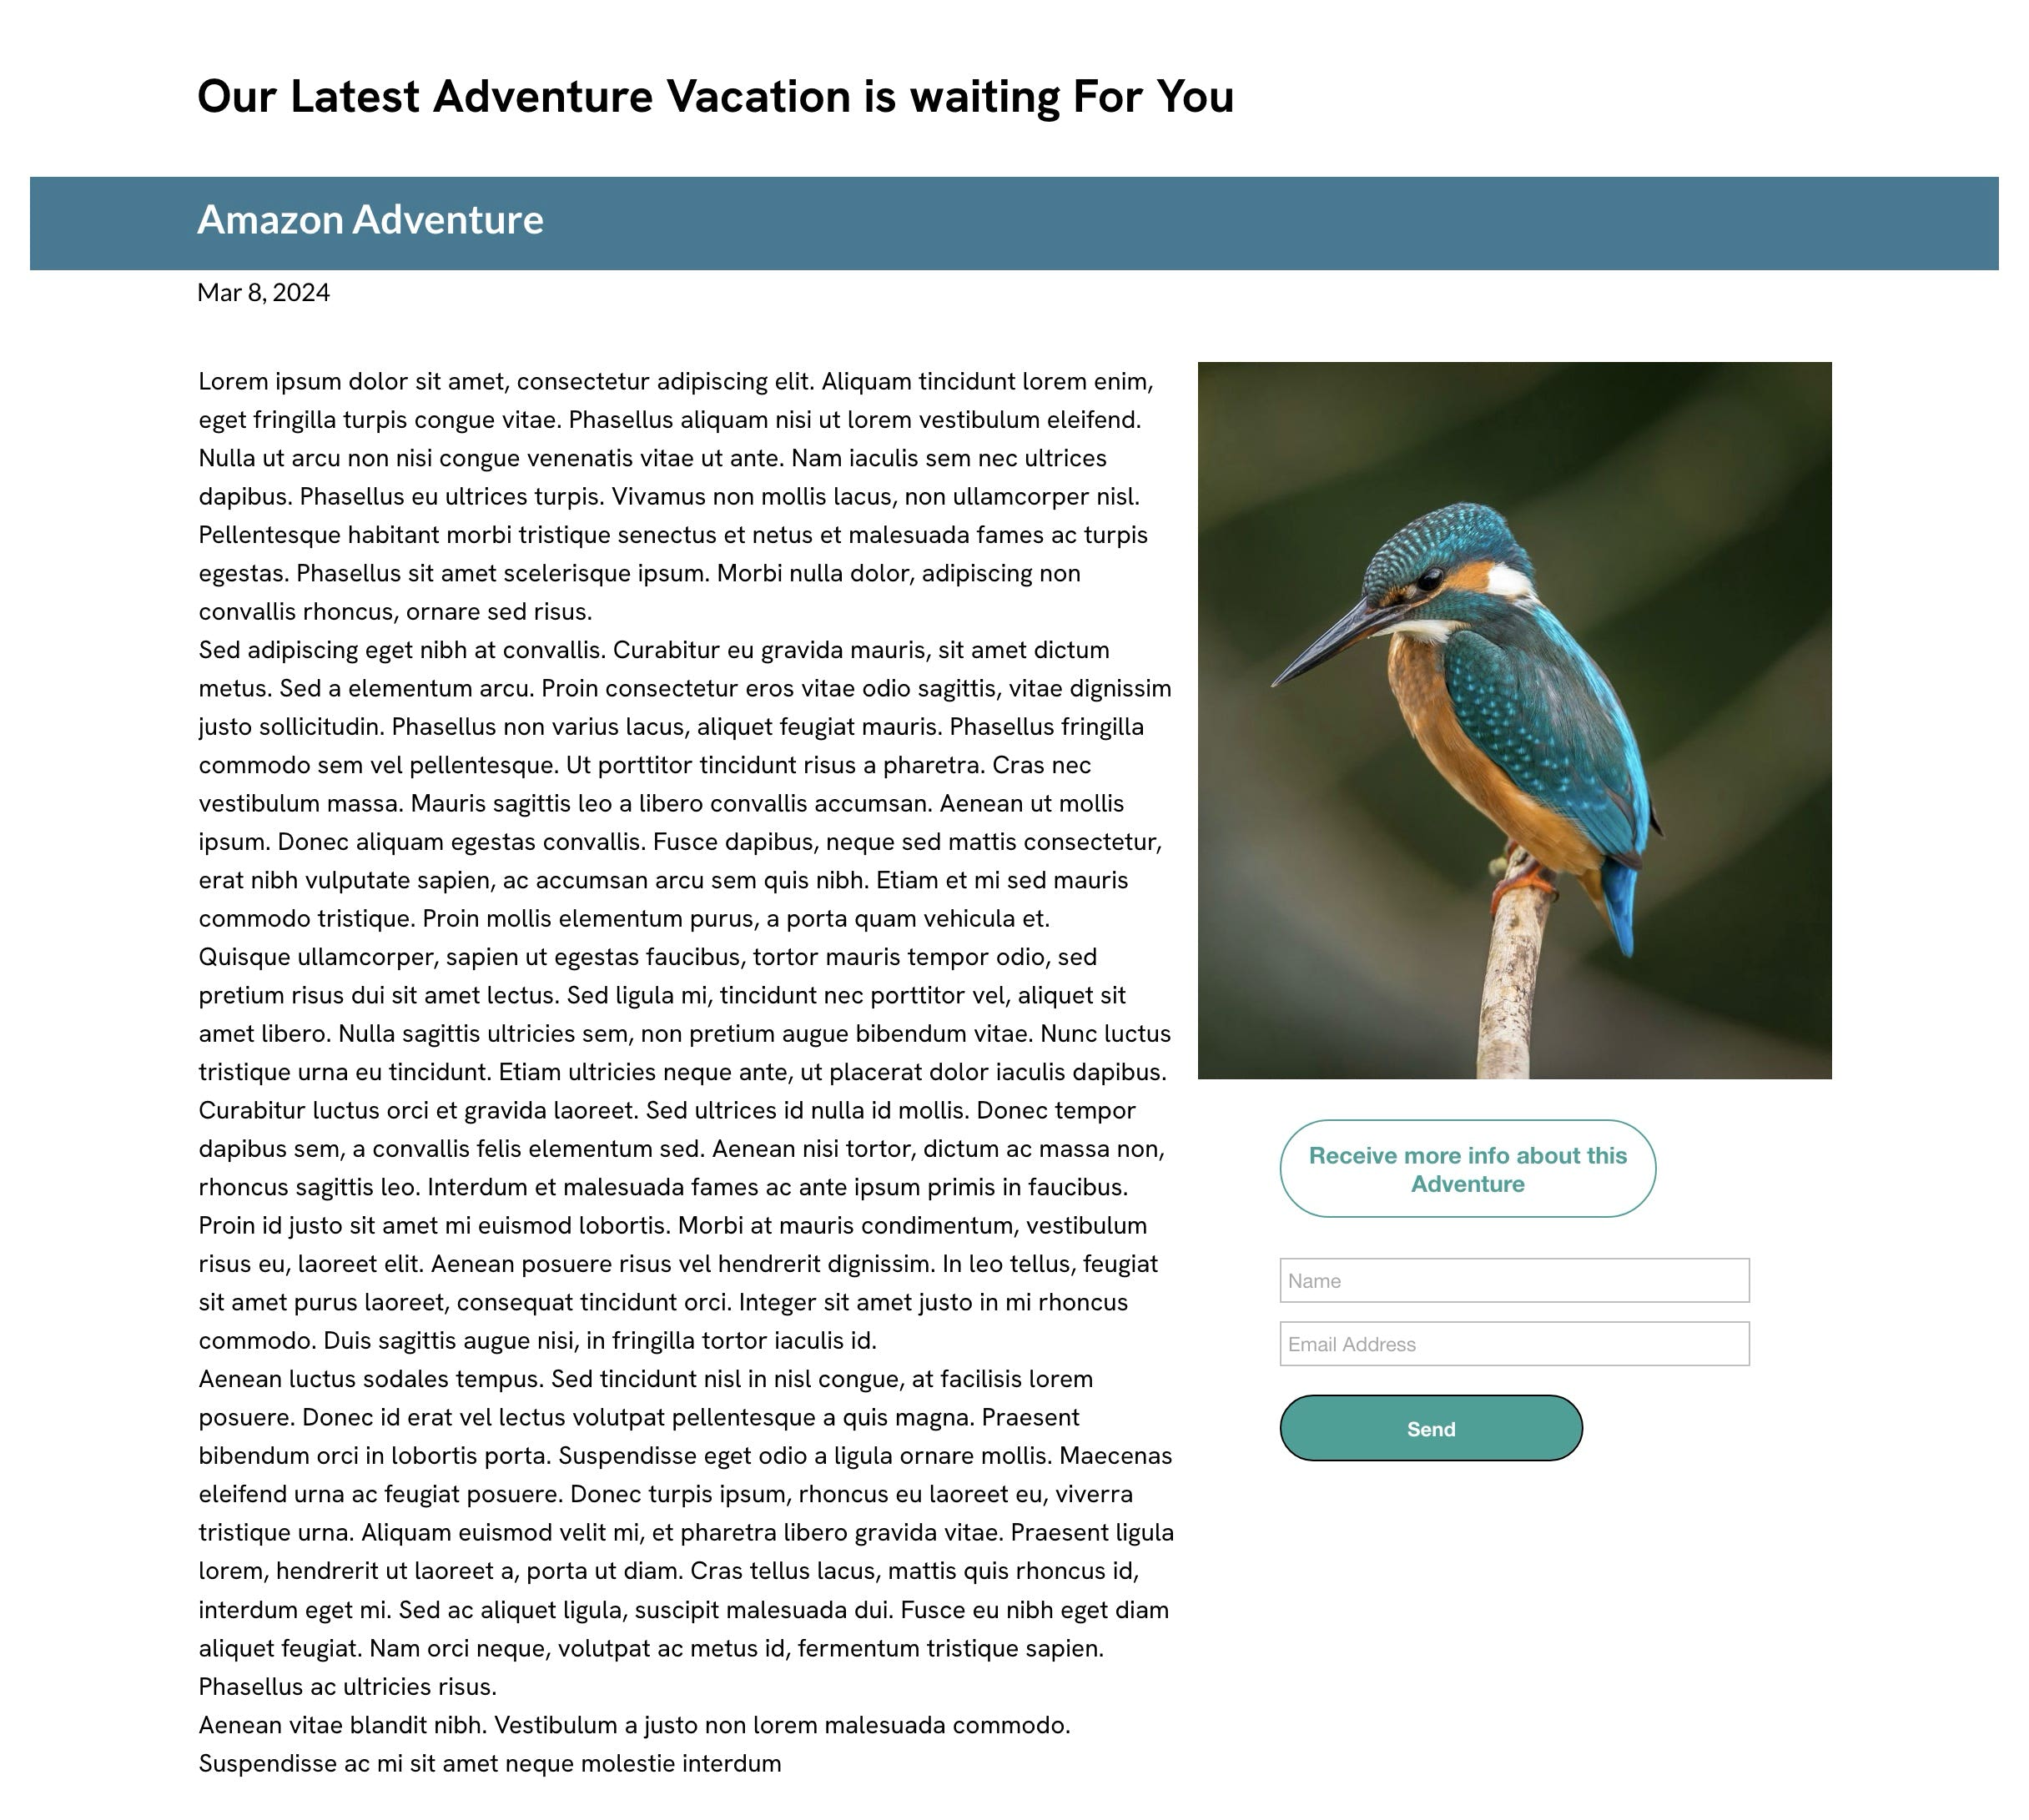
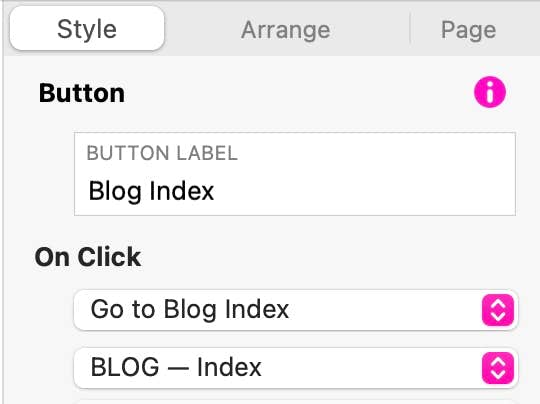
In the above example, the Blog Title has been styled and placed over a background box. An Image has been added, as well as a quick enquiry form. Remember, you can set out your page however you wish, just like any other page in Sparkle. The only additional thing you MUST add is a blog index link. This can be a button or text link that returns users to the index page of your blog. Typically, the link will look something like this and have its on-click action set to Go to Blog Index.

Checking out the Blog Index Page
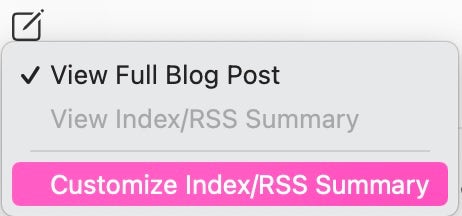
Selecting the Customise Index/RSS Summary option will allow you to decide which elements of the page are to be shown on the Blog index page. You will be free to delete, resize or rearrange elements - Don’t worry, they won’t disappear from your main blog posts - only the index page entry will change. In our example, We’ve changed the Blog Title to be in a smaller font, and displayed as black text. The date has been moved to the right of the blog title. we’ve removed the green background box, the form and its submit button, and the blog index link. We also reduced the amount of text, turning it into a summary, and we’ve reduced the size of the image and repositioned it.
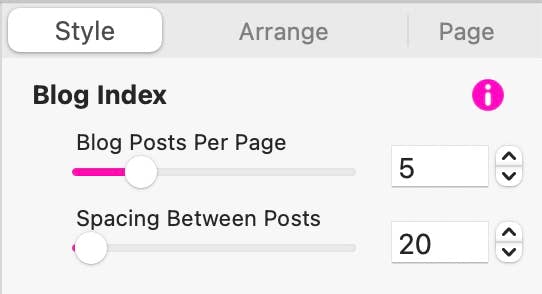
But, we’re not done yet. If you go back the Blog Index page, you will see the summary entry on the page. It will be contained within its own box, allowing you to move it around on the index page to fit in with other page elements. It will also display a page button under the entry. As you add more blog posts, the index page will start to fill up. You can set the number of posts to show in each index by selecting the index box on the page, and setting the number and spacing of the entries in the style panel. Once that number has been reached, sparkle will create additional index pages and add more buttons to the page index. This gives users the ability to step back through all previous blog posts.
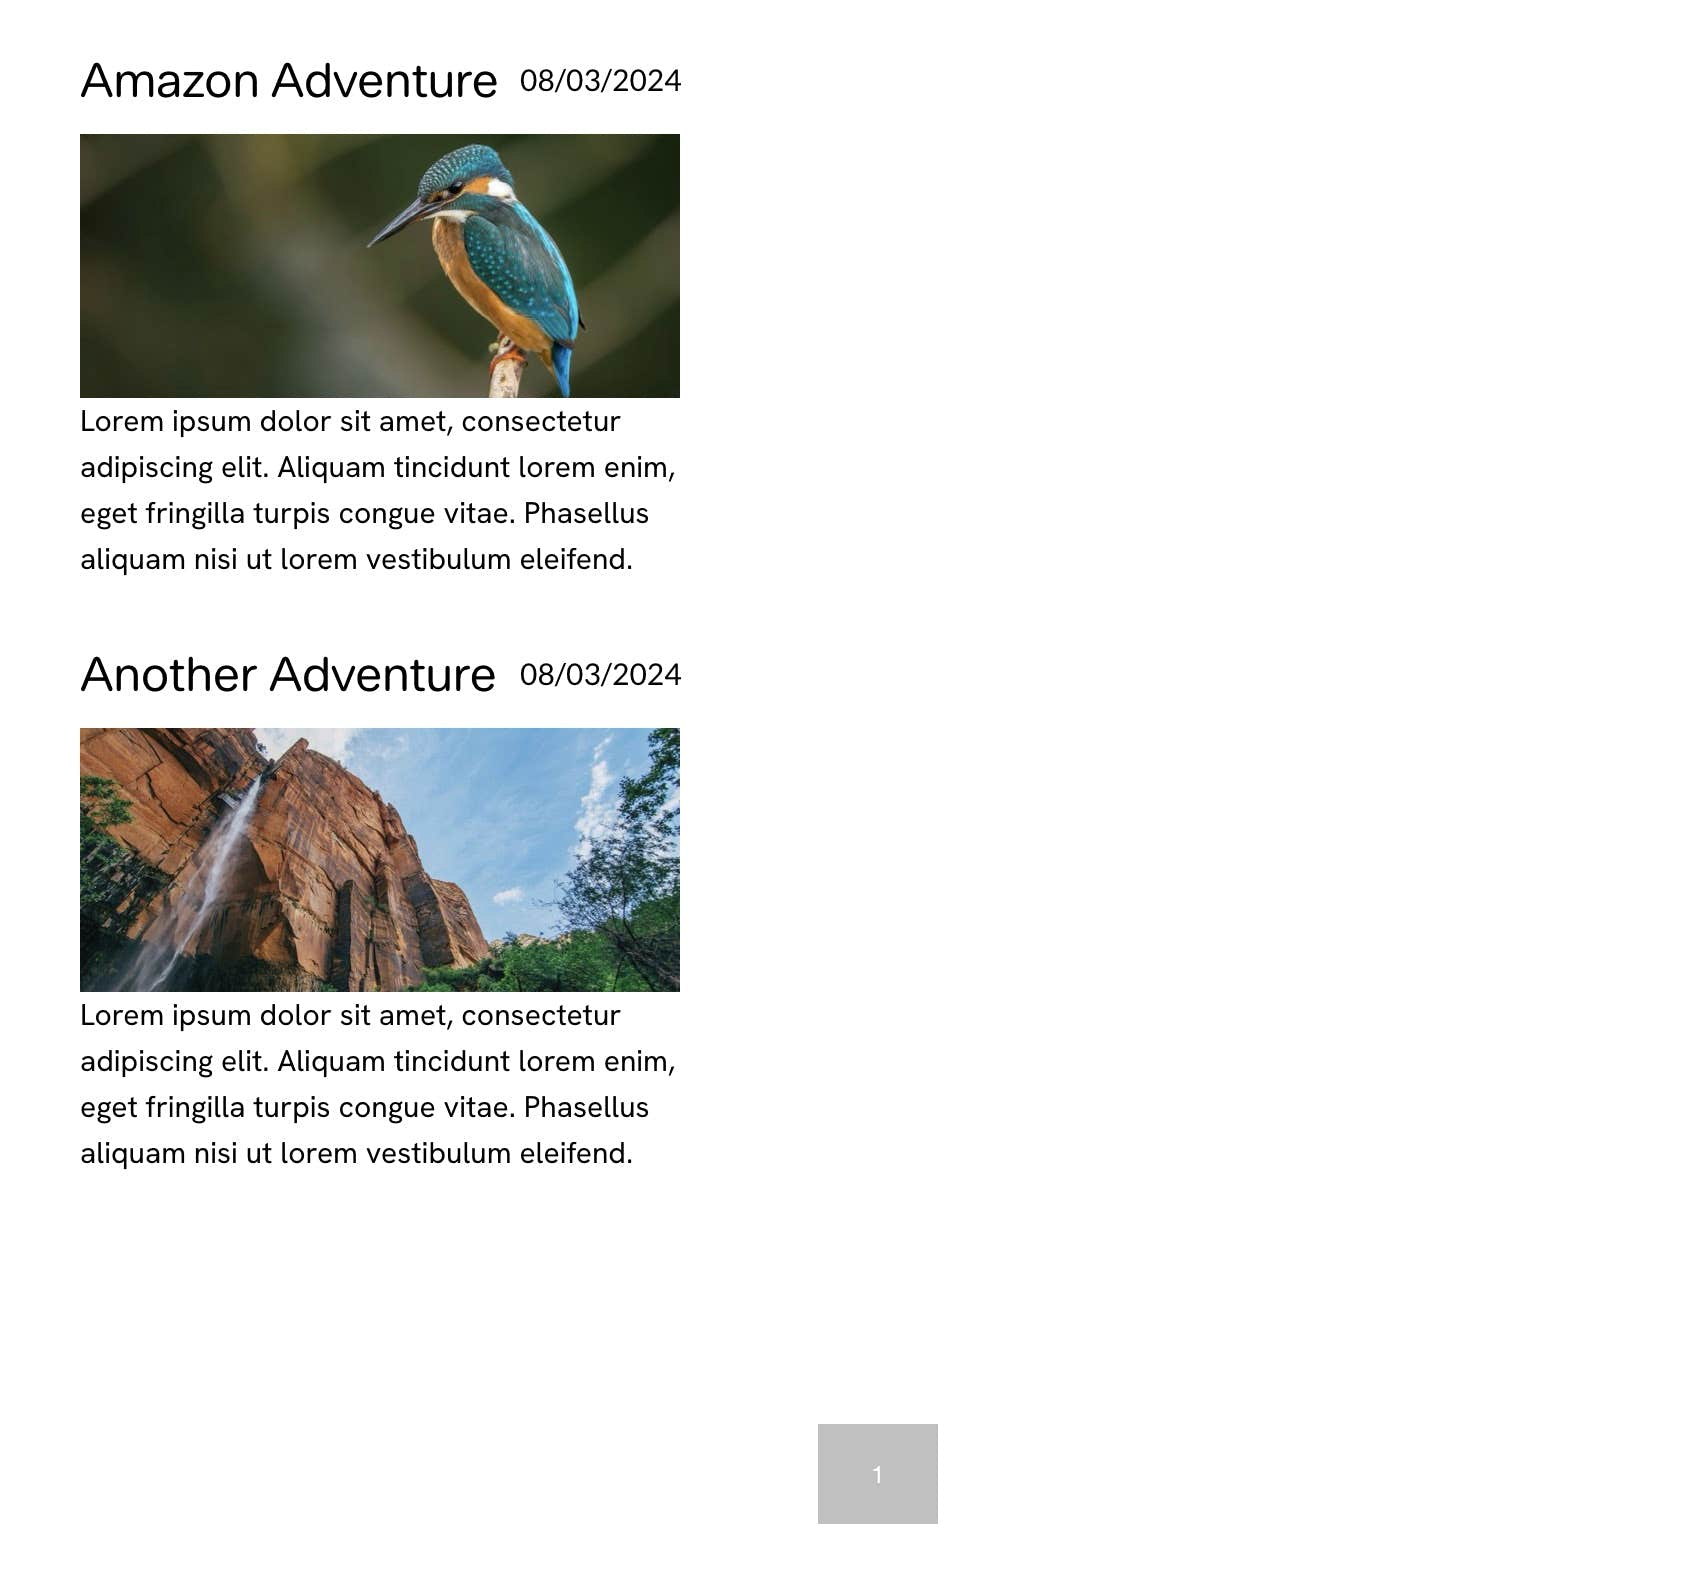
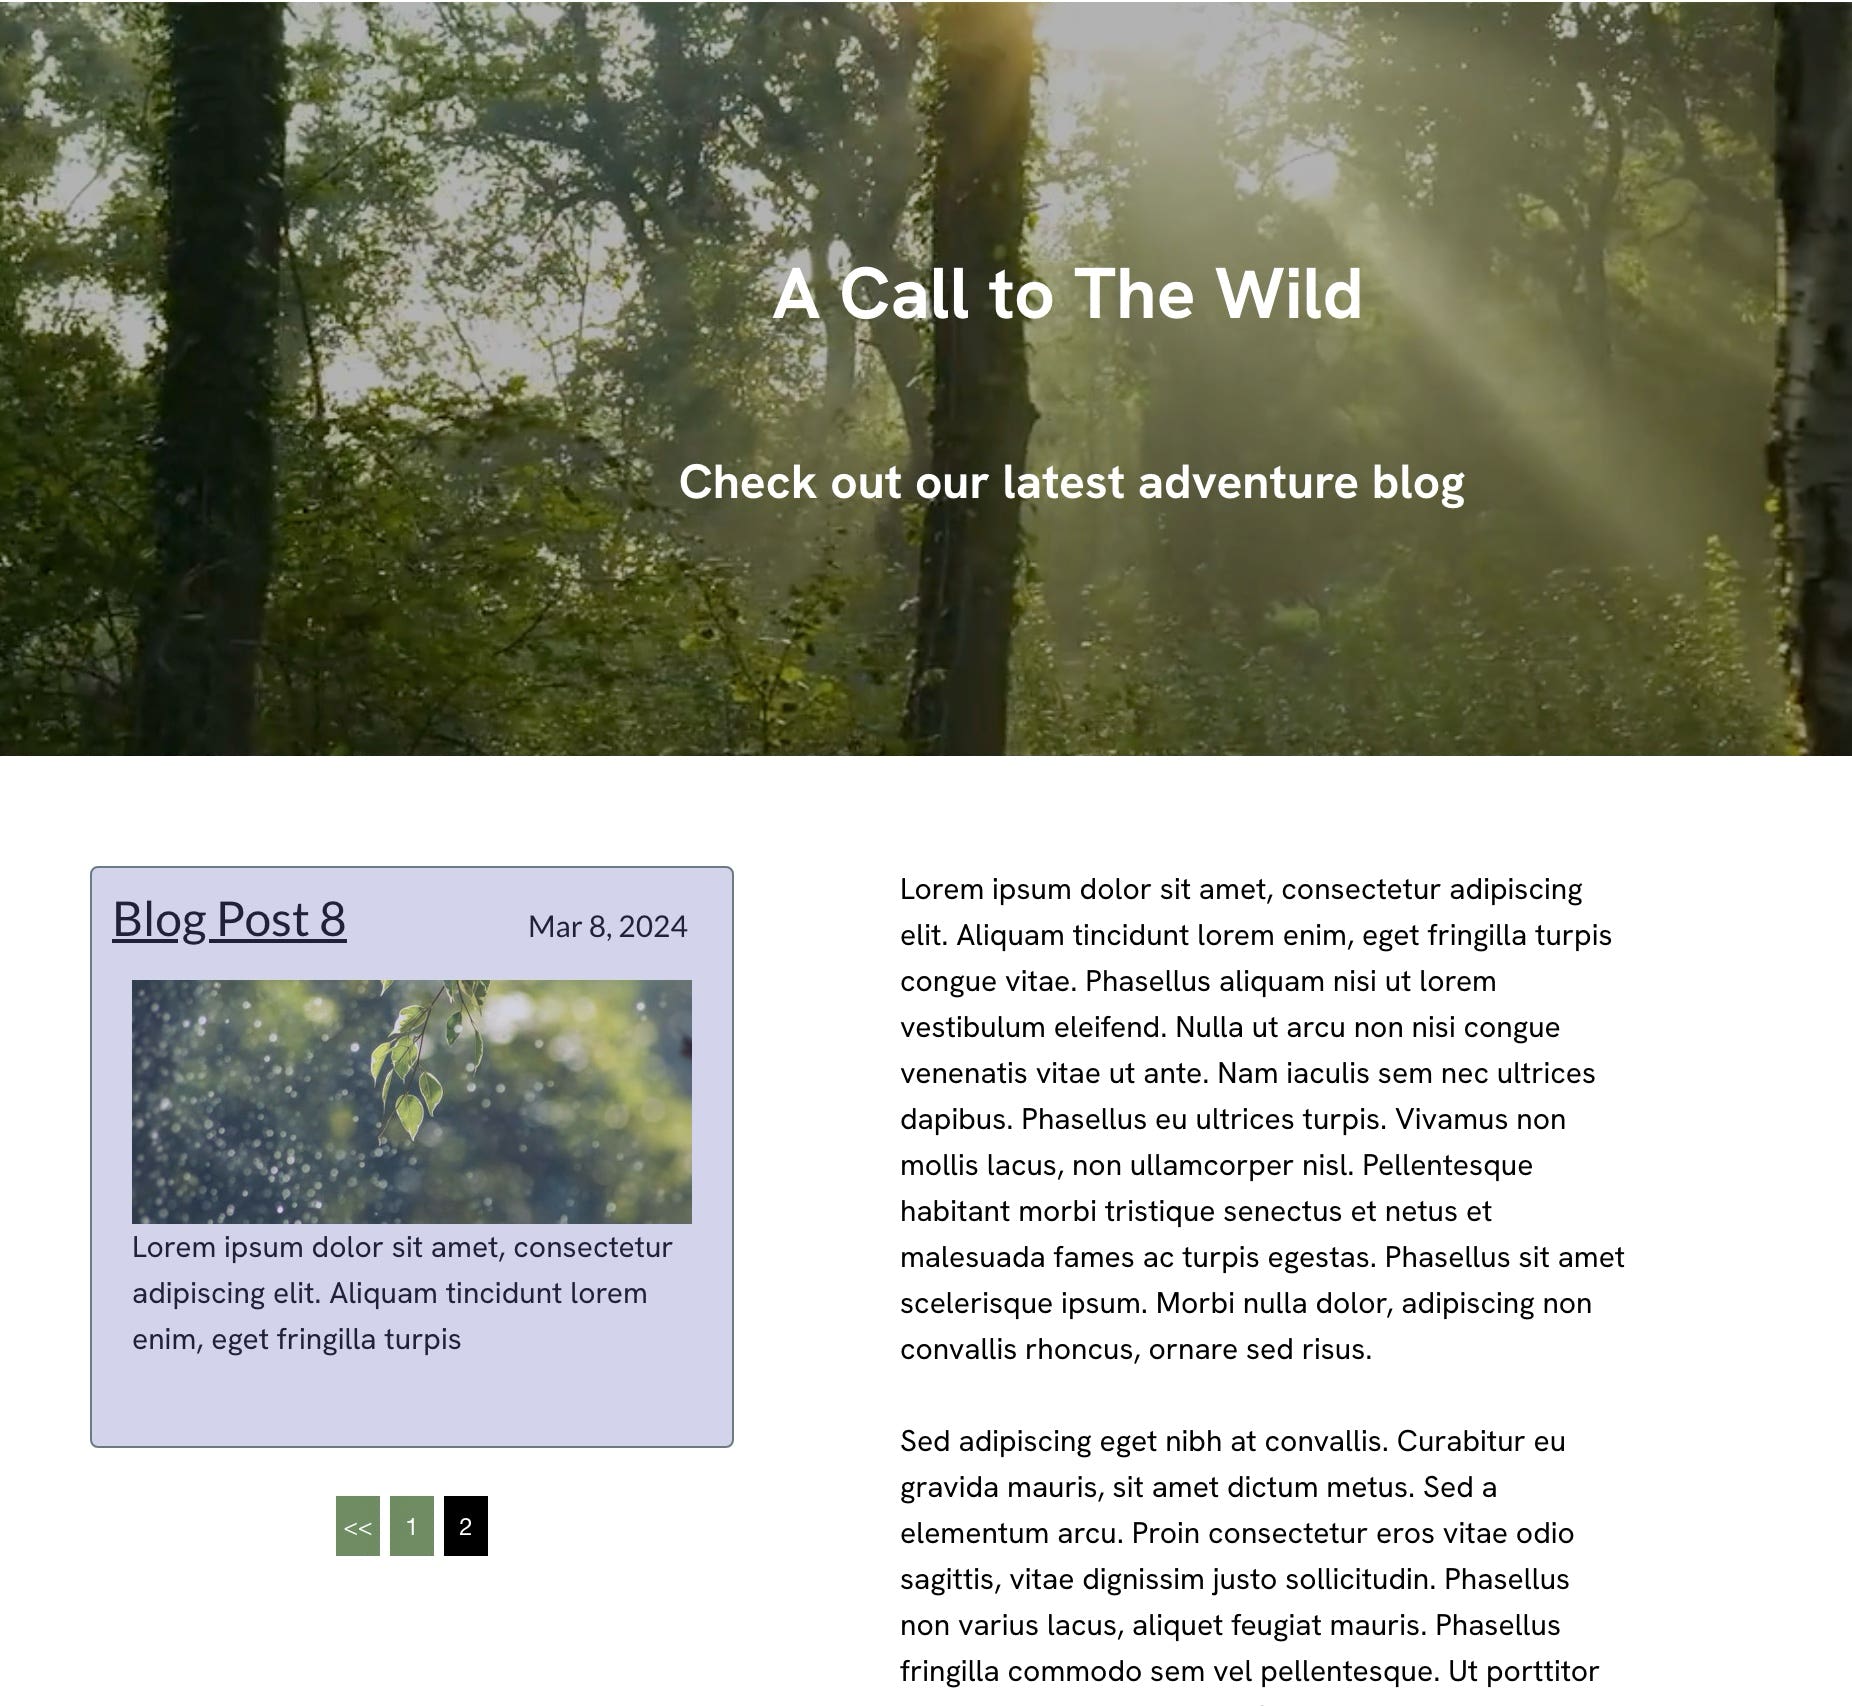
Here is what our blog index page looks like with two entries. It only displays one page button because we haven’t exceeded the number of entries per page, but if we added say 10 entries, we would see two page buttons.
With your blog posts organized, and your index entries stylised how you want them, You’re ready to design the final look of your blog index page. Just like your post pages, you can add additional content to your index page to give it more interest. In our final blog index example, we’ve added a navigation header for the whole website, a video banner, some text and a Call to Action button.
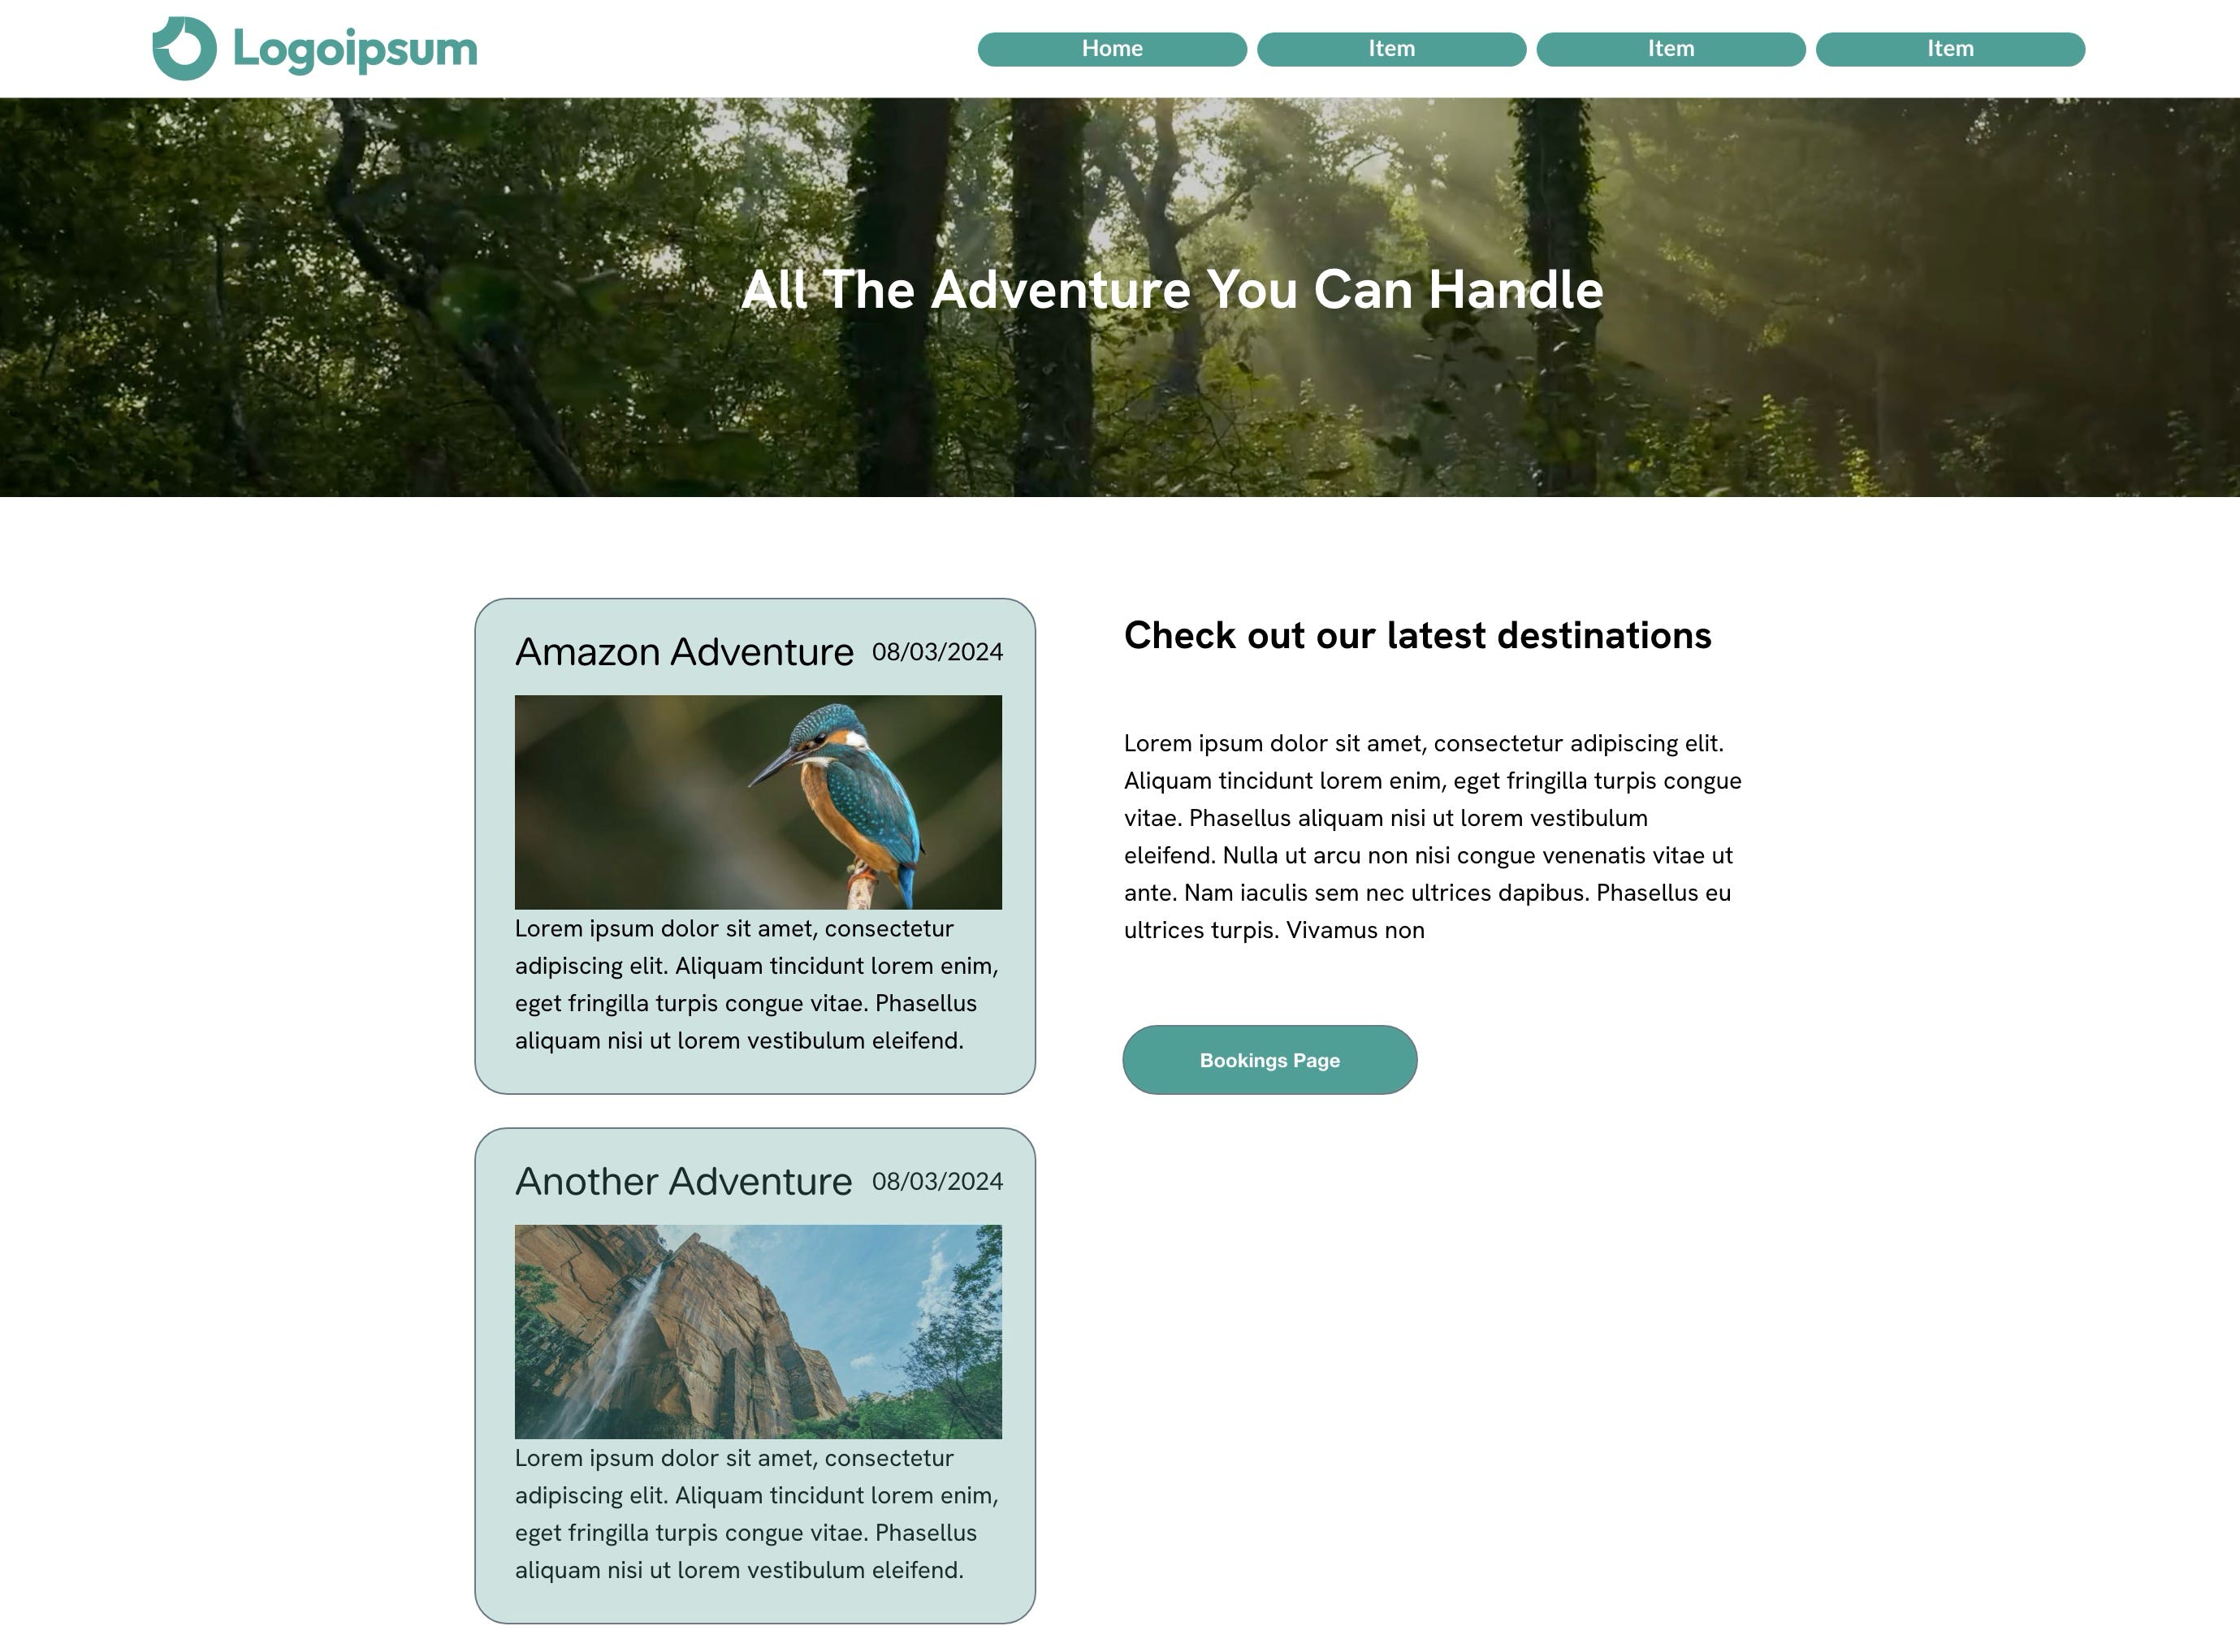
The blue background boxes were added when we created the index page summaries and got transferred to the index page automatically. It should be noted that any common elements added to the Blog Index page will carry through onto every index page created by Sparkle, regardless of the number of pages created. The only elements that will change on a page-by-page basis is the actual blog summaries.
Page Links
By default, page links are displayed centred on the index page. If you’re creating a blog index to be contained within a narrower column, you can move and resize the pagination button block so that it sits directly under your blog summaries, as shown here.
This would typically be the case where your Blog Index page is ALSO your website home page. You have the option of making your Index Page into a home page by selecting it in the pages panel on the left of the interface, and then changing the page type in the Pages tab on the right of the interface.
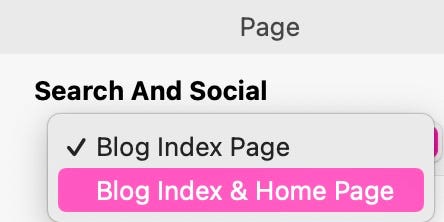
If your elect to create your index page as a home page, the existing home page (index.html) will become a standard page which you can delete or use as another page in your site.
Quick Video Tutorial
Please report any shortcoming in this documentation and we’ll fix it as soon as possible!
Updated for Sparkle 5.5
This website makes use of cookies.
Please see our privacy policy for details.
It’s Okay
Deny